生成检测图像边缘的独立 C 代码
R2026b此示例说明如何为检测图像边缘的 MATLAB® 函数生成独立的 C 库。您可以将生成的 C 代码集成到您的自定义 C 应用程序中。
检查和测试 MATLAB 函数
检查 MATLAB 函数 detectEdges。
type detectEdgesfunction edges = detectEdges(originalImage,threshold) %#codegen kernel = [1 2 1; 0 0 0; -1 -2 -1]; H = conv2(originalImage,kernel,"same"); V = conv2(originalImage,kernel',"same"); E = sqrt(H.*H+V.*V); edges = uint8((E>threshold)*255); end
此函数使用索贝尔边缘检测算法计算灰度图像中的水平和垂直强度梯度。它使用正交 kernel 矩阵对表示灰度图像的二维矩阵进行卷积,然后计算每个像素处强度梯度的幅值。最后,它通过仅记录强度变化大于指定 threshold 值的像素来识别图像中的边缘。
要测试 MATLAB 函数,请读入示例 RGB 图像并将其转换为灰度。
im = imread("hello.jpg");
im_gray = rgb2gray(im);
image(im_gray)
colormap(gray(256))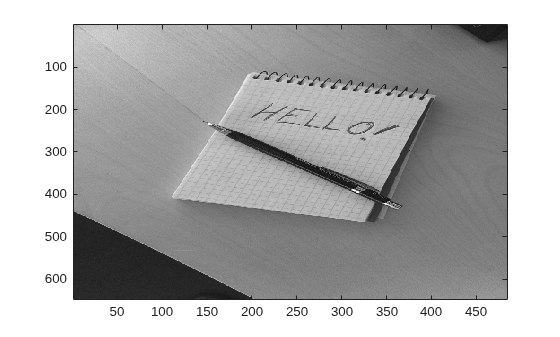
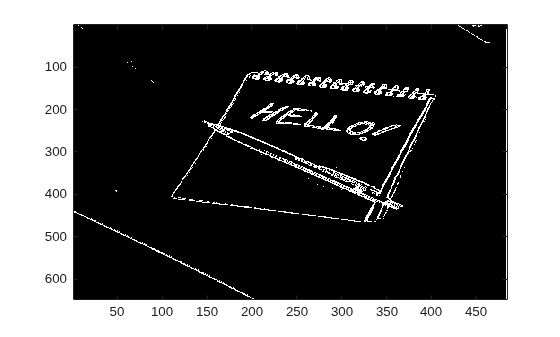
然后,使用阈值为 110 的 detectEdges 函数来查找灰度图像中的边缘。
edgeIm = detectEdges(im_gray,110);
image(edgeIm);
生成并运行 MEX 函数
使用 codegen 命令为 detectEdges 函数生成一个 MEX 函数。然后,运行生成的 MEX 函数以检查生成代码是否与原始 MATLAB 代码具有相同的行为。
默认情况下,codegen 命令在工作文件夹中生成以 C 语言编写的 MEX 函数。将 -args 选项与 coder.typeof 函数结合使用,以指定 detectEdges 函数接受两个输入:
一个由 8 位无符号整数组成的可变大小矩阵,两个维度的上界都为
1024一个双精度值
codegen detectEdges -args {coder.typeof(uint8(0),[1024,1024],[true,true]),0}
Code generation successful.
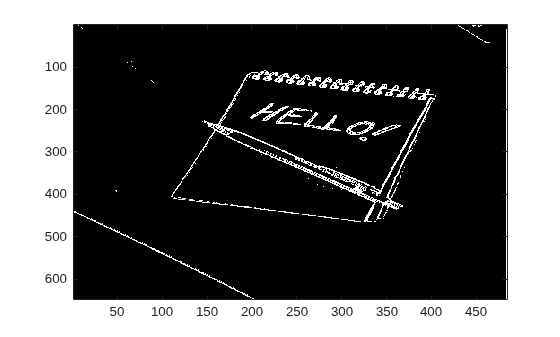
使用传递给原始 MATLAB 函数的相同输入来测试 MEX 函数。MEX 函数产生相同的输出。
edgeIm_MEX = detectEdges_mex(im_gray,110);
image(edgeIm_MEX);
生成和检查 C 代码
使用带 -config:lib 选项的 codegen 命令生成 C 静态库。使用在生成 MEX 函数时所用的相同 -args 语法。
codegen -config:lib -O disable:inline detectEdges -args {coder.typeof(uint8(0),[1024,1024],[true,true]),0}
Code generation successful.
代码生成器在文件 detectEdges.h 中声明 C 函数 detectEdges。您可以在自定义 C 应用程序中使用生成的 C 函数。
file = fullfile("codegen","lib","detectEdges","detectEdges.h");
coder.example.extractLines(file,"extern void","#ifdef",1,0)
extern void detectEdges(const emxArray_uint8_T *originalImage, double threshold,
                        emxArray_uint8_T *edges);

