Run Model on Virtual Prototyping (VP)
Virtual Prototyping (VP) provides an alternative platform that can simulate all the processing units, memories and peripherals available in Infineon AURIX™ TC3x MCU. You can build and test your model on virtual prototyping without the hardware using the Synopsys Virtual Prototyping (VP) Virtualizer.
Virtual Prototype (VP) is integrated into the Virtualizer Development Kit (VDK) from Synopsys. For more information on installation and set-up procedures for the VDK for IFX TC37x VP product family, refer to its installation Guide.
Simulate the Model in Virtual Prototyping (VP)
Configure a Simulink® model to generate code for Infineon AURIX TC3x. For more, see Getting Started with Embedded Coder Support Package for Infineon AURIX TC3x Microcontrollers.
To generate code for the model, go to Hardware tab > Build, Deploy & Start and select Build, Deploy & Start.
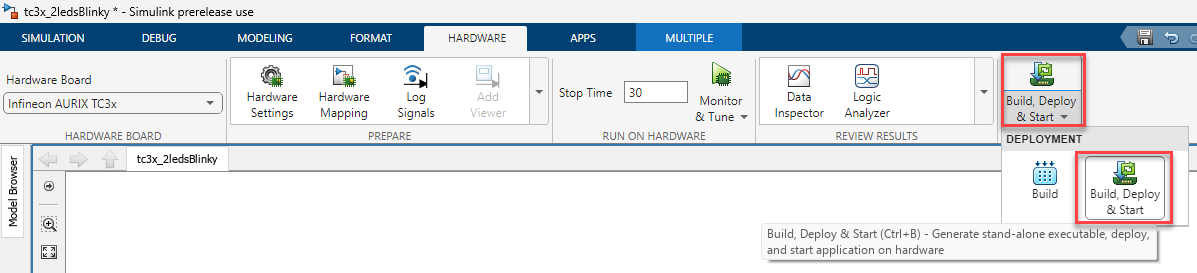
The generated code is created as an executable and linkable format
(.elf).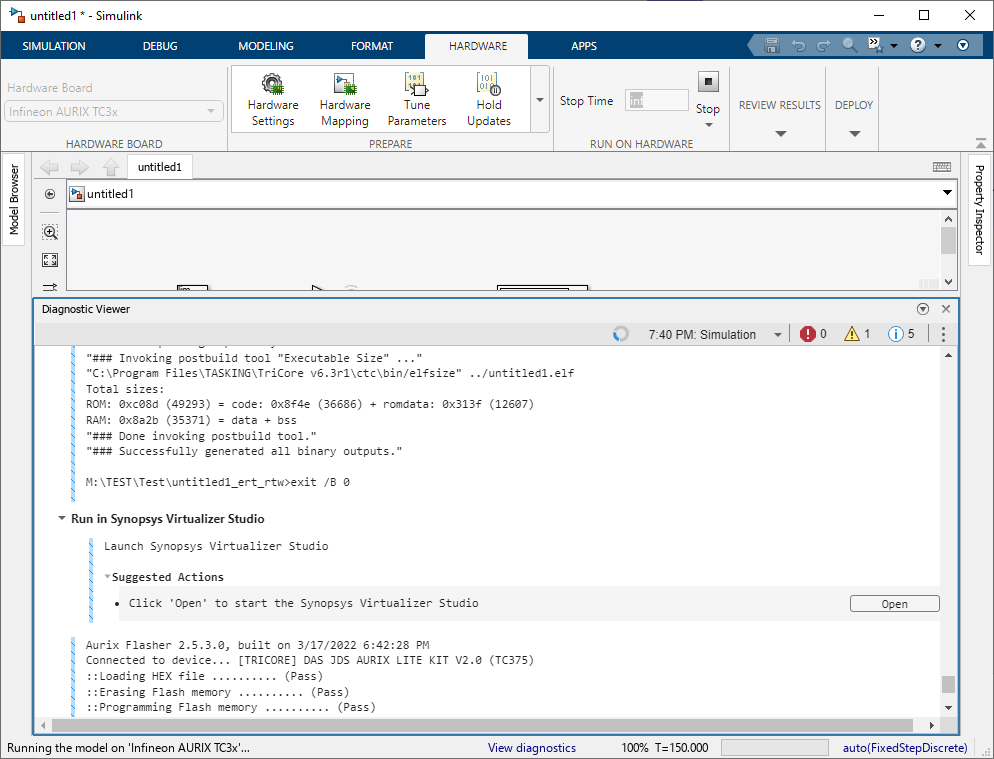
Launch the Virtualizer Studio (VSDK) from Simulink diagnostic viewer.
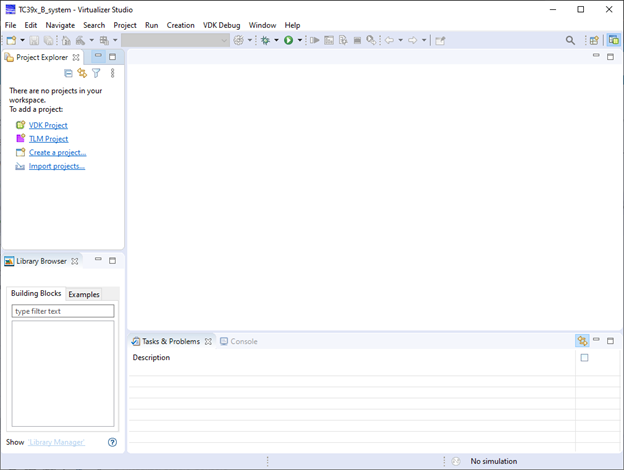
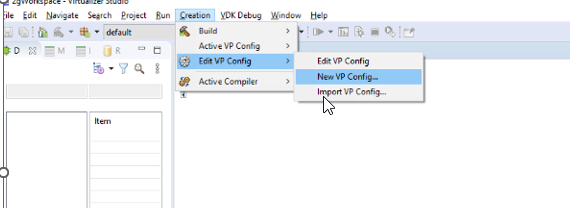
Create a new VP configuration file. Go to Creation > Edit VP Config and select New VP Config
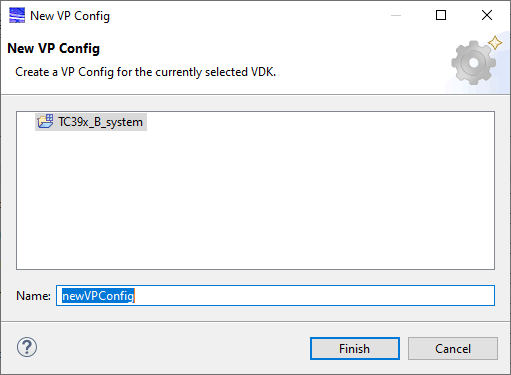
Name the new VP config and click Finish.
The new VP config is created in Virtualizer Studio as shown.
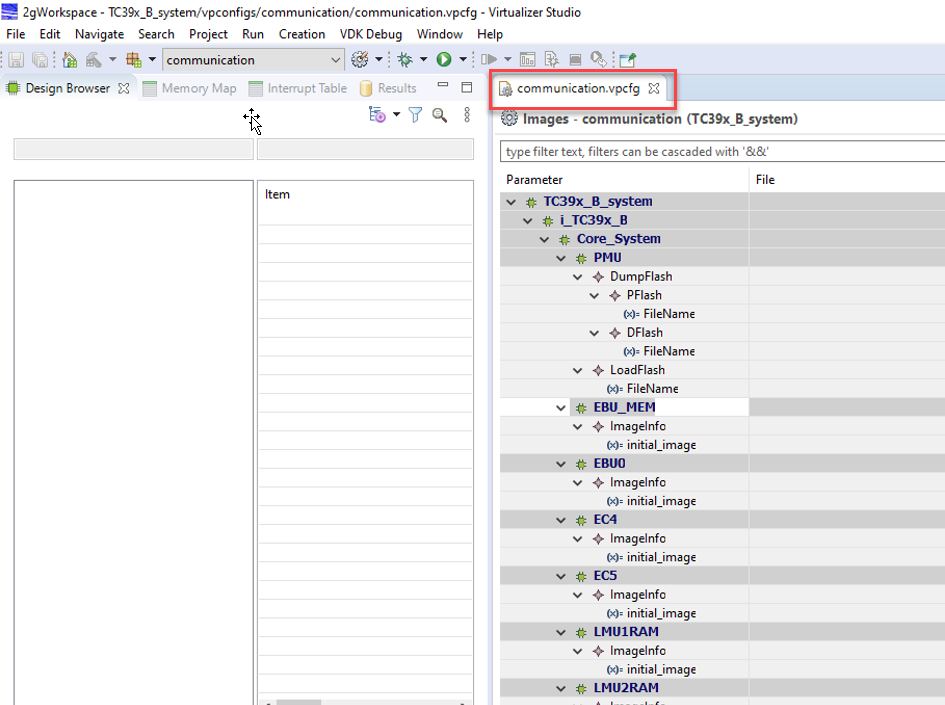
In Images tab, go to TC39x_system > TC39x > Core_System > TriCore > Initial_image and click browse to provide an elf file which was generated from step 2.

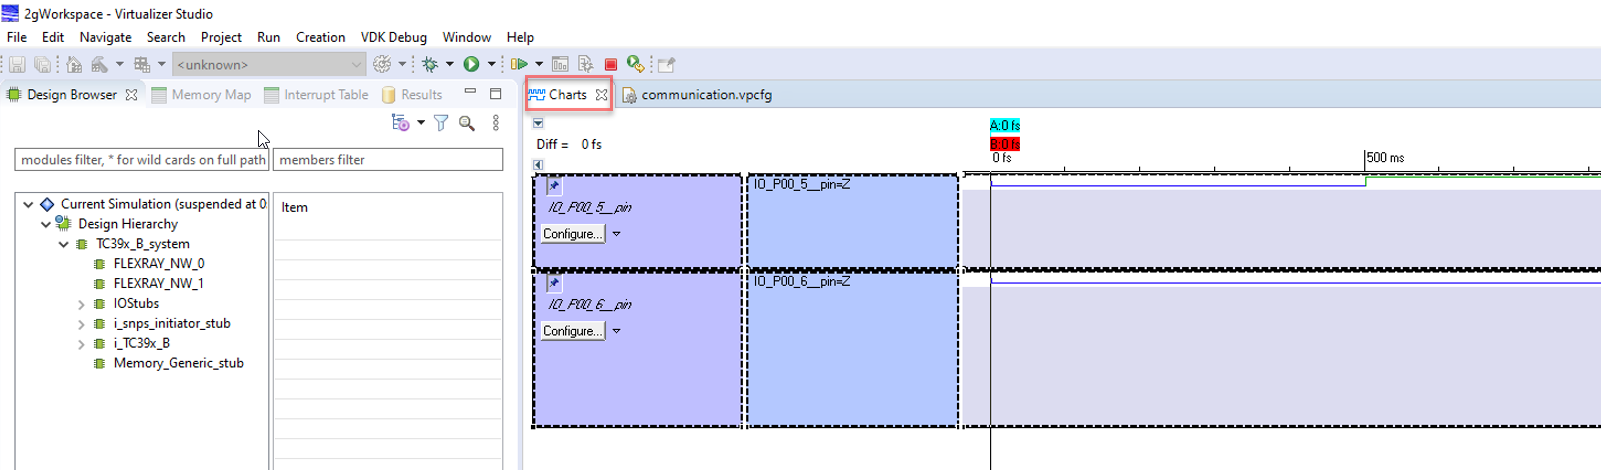
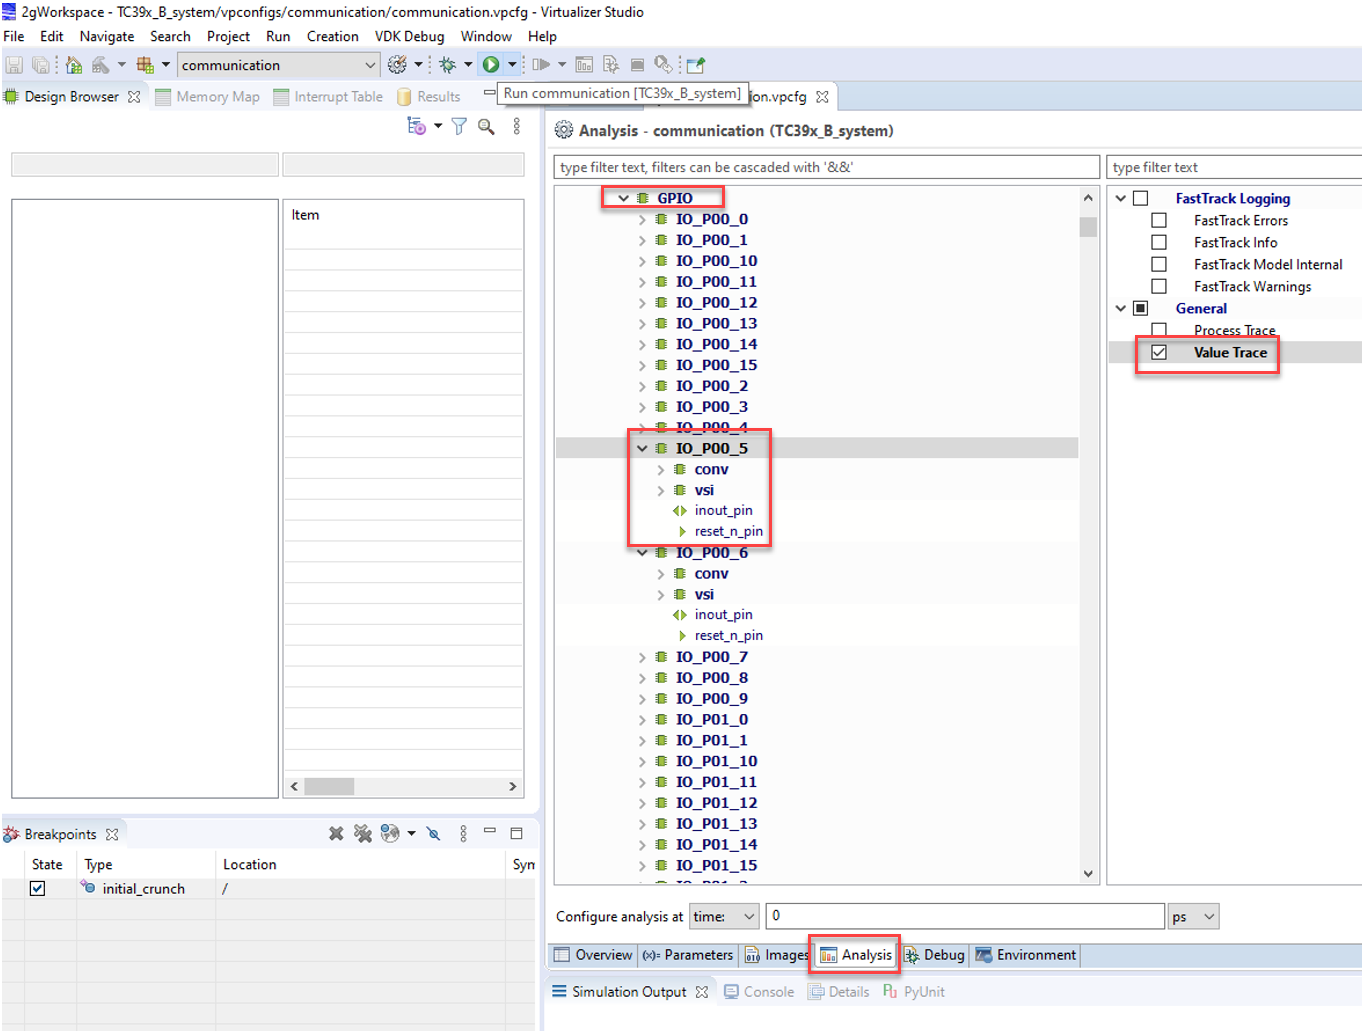
Go to Analysis tab and configure the pins. For example, GPIO pins.
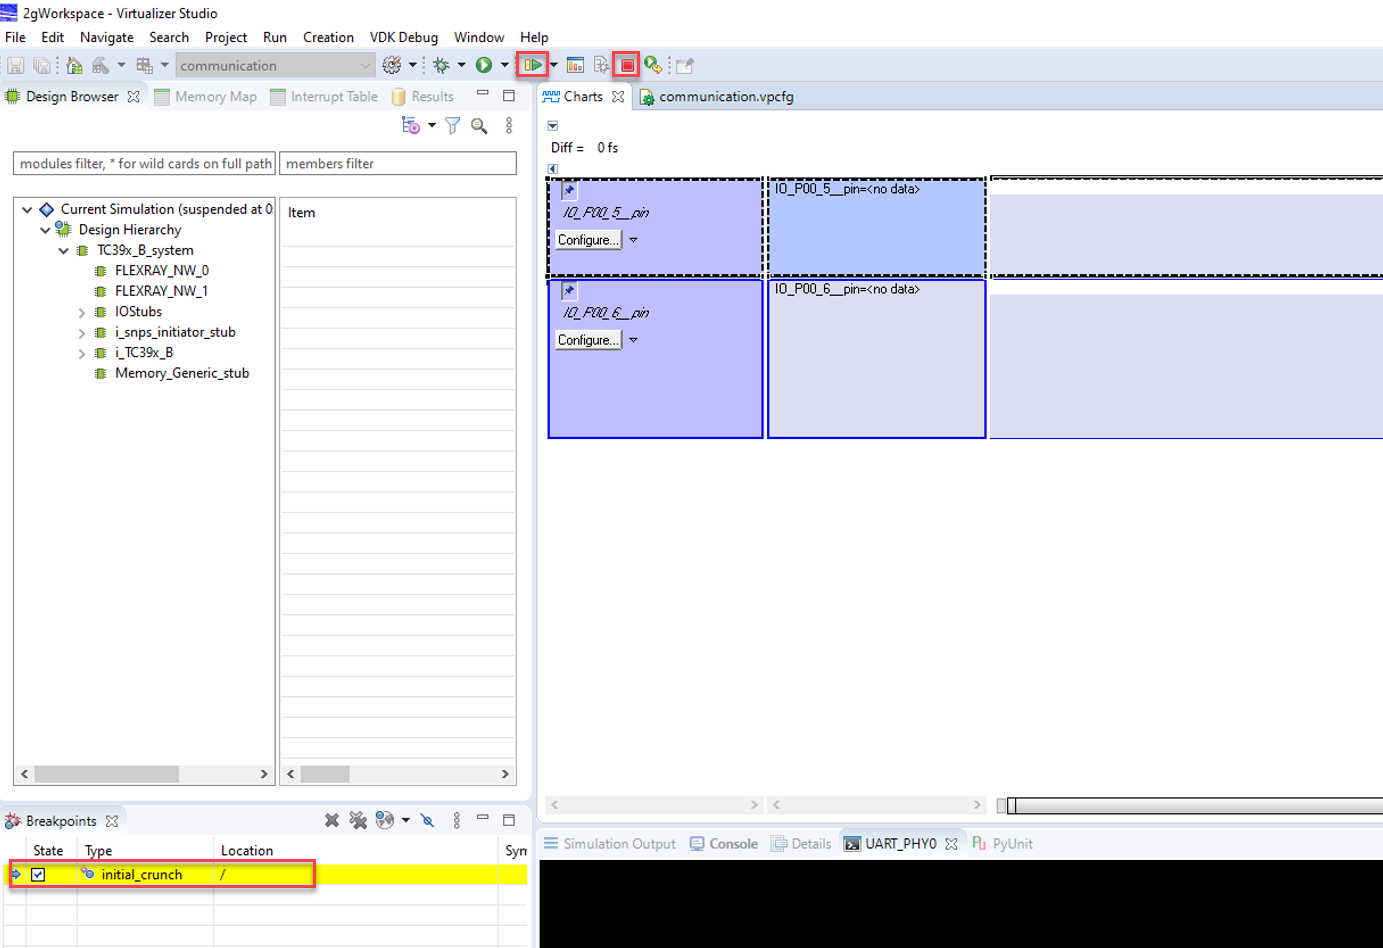
Click Run to start the simulation.
After successful simulation startup, the simulation halts at Initial crunch.
Click resume to start the simulation.
Use the play, pause and stop buttons in the VP to start or resume, pause, and stop the simulation respectively.
Click Display selected analyses in Charts to view the simulation results.