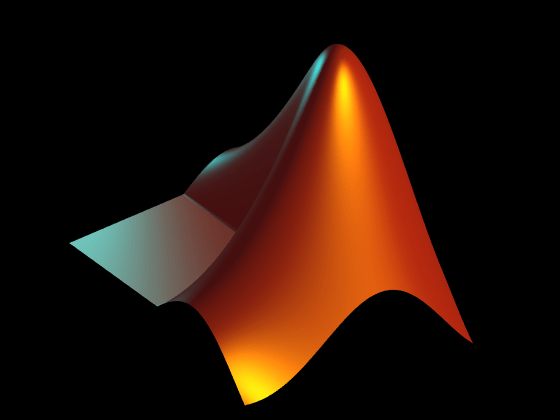
创建 MATLAB 徽标
以下示例演示如何创建和显示 MATLAB® 徽标。
使用 membrane 命令生成徽标的曲面数据。
L = 160*membrane(1,100);
创建一个图窗和一套坐标区以显示徽标。然后,使用通过 membrane 命令得到的点创建徽标的曲面。关闭曲面中的线条。
f = figure;
ax = axes;

s = surface(L);
s.EdgeColor = 'none';
view(3)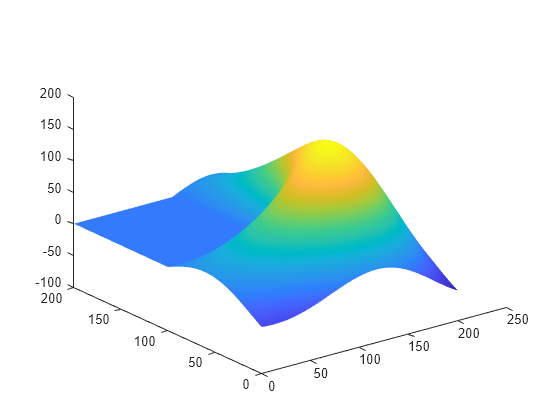
调整坐标区范围,使坐标区紧密围绕在徽标周围。
ax.XLim = [1 201];
ax.YLim = [1 201];
ax.ZLim = [-53.4 160];
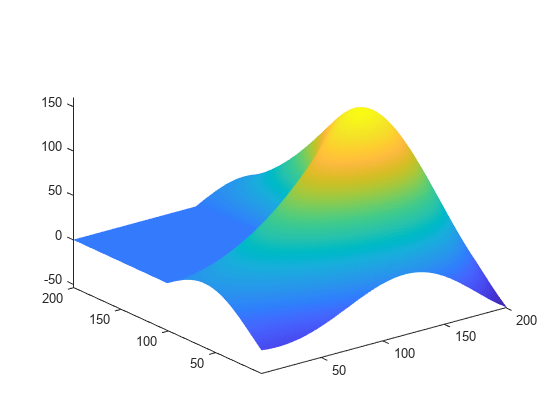
使用坐标区的相机属性调整徽标视图。相机属性控制三维场景的视图,就像带有缩放镜头的相机一样。
ax.CameraPosition = [-145.5 -229.7 283.6];
ax.CameraTarget = [77.4 60.2 63.9];
ax.CameraUpVector = [0 0 1];
ax.CameraViewAngle = 36.7;
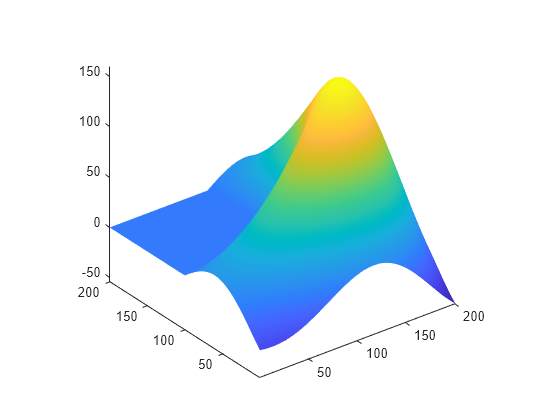
更改坐标区的位置和 x、y 和 z 纵横比以填充图窗窗口中的额外空间。
ax.Position = [0 0 1 1];
ax.DataAspectRatio = [1 1 .9];
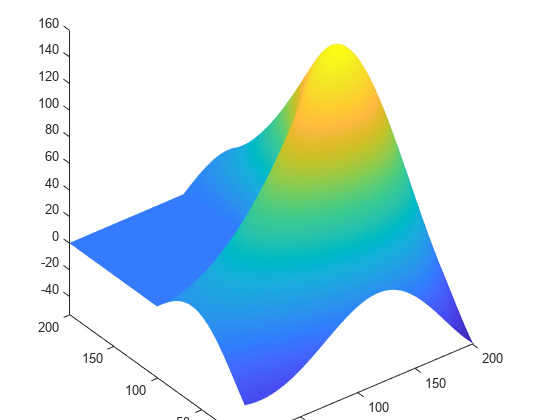
创建光源以照亮徽标。光源本身不可见,但可设置其属性以更改坐标区中任何填充或曲面对象的外观。
l1 = light;
l1.Position = [160 400 80];
l1.Style = 'local';
l1.Color = [0 0.8 0.8];

l2 = light;
l2.Position = [.5 -1 .4];
l2.Color = [0.8 0.8 0];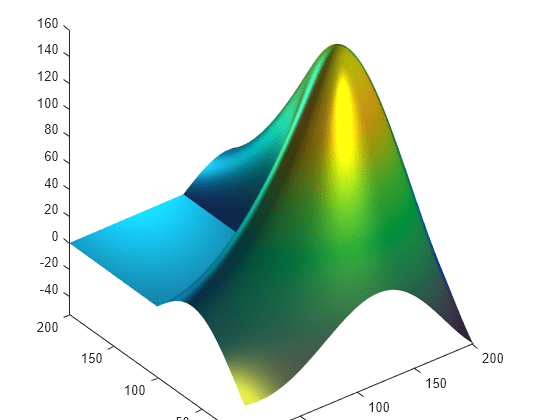
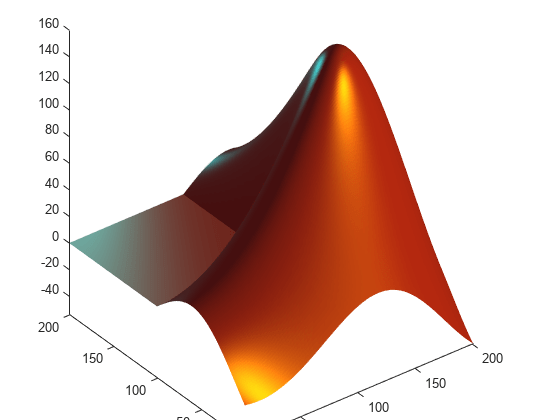
更改徽标的颜色。
s.FaceColor = [0.9 0.2 0.2];
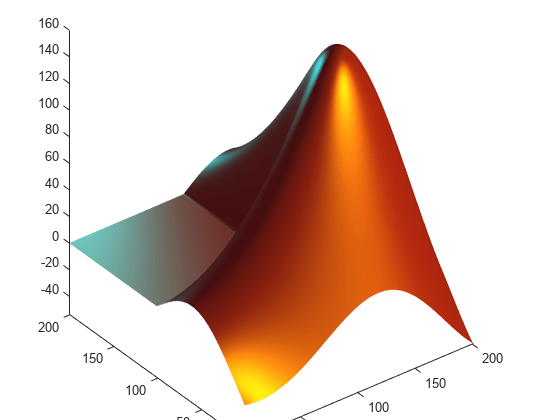
使用曲面的光照和镜面(反射)属性来控制光照效果。
s.FaceLighting = 'gouraud';
s.AmbientStrength = 0.3;
s.DiffuseStrength = 0.6;
s.BackFaceLighting = 'lit';

s.SpecularStrength = 1;
s.SpecularColorReflectance = 1;
s.SpecularExponent = 7;
关闭轴以查看最终结果。
axis off
f.Color = 'black';
