TCP/IP Client Block Communication with Arduino Server
This example shows how to use the TCP/IP Send and TCP/IP Receive blocks with a remote server. In this example, the server is running on an Arduino® connected on the network. The TCP/IP blocks are client-only blocks. Both the TCP/IP Send and TCP/IP Receive blocks can communicate with a server running remotely, with a server in a different MATLAB® session, or to an echo server on the same machine.
In this example, the two models demonstrate the following:
Continuous stream of data from the server after a trigger.
On-demand read from the server after a command message is sent to the server.
Setup
You must load the INO file that the example provides onto an Arduino Uno and configure your network connections to the IP and Port settings in the INO file. Running this example opens both models associated with the example. You can run one at a time to get a better understanding of the difference between the two and to see how the TCP/IP blocks behave as client blocks while communicating with the server running on the Arduino.
Continuous Stream of Data from Server
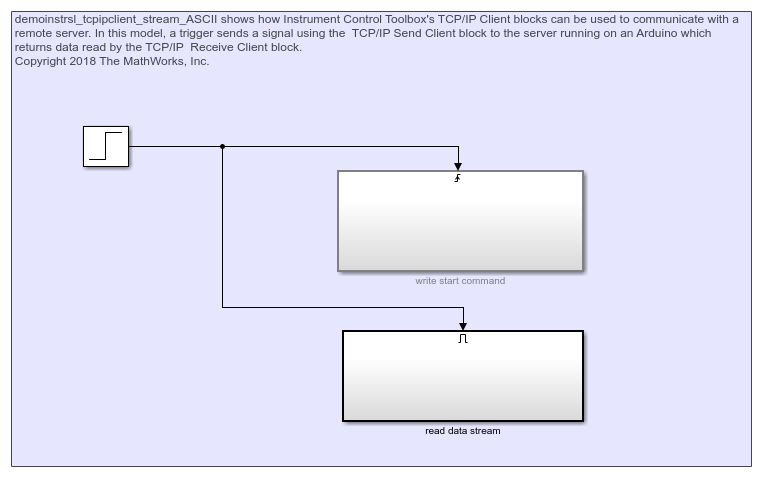
This model consists of two subsystems:
Write start command — A triggered subsystem that at the first time interval trigger sends a start command to the server running on the Arduino using the TCP/IP Send Client block.
Read data stream — A triggered subsystem that continuously reads the stream of data coming in from the Arduino server at every time interval using the TCP/IP Receive Client block.

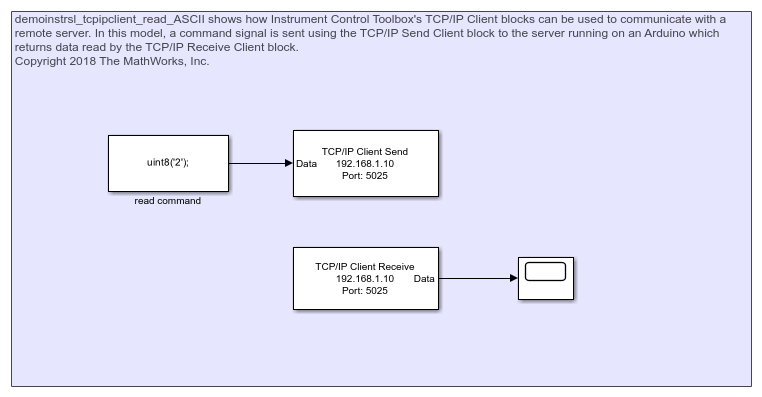
On-Demand Read from Server
This model is set up to send an initial send command using the TCP/IP Send Client block. The server acknowledges that a signal has been received and sends some data back, which is read by the TCP/IP Receive Client block.

Results
This example makes use of the sensor attached to the analog pins on the Arduino. For the type of sensor attached you should see a corresponding output.