Send Service Response
Libraries:
ROS Toolbox /
ROS 2
Description
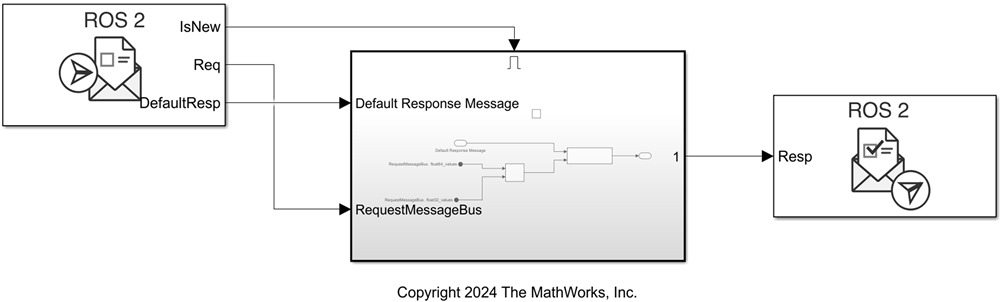
Use the Receive Service Request block and the Send Service Response in the same model to implement a ROS 2 service server in Simulink®. The Send Service Response block enables you to send service response messages to service clients after processing the service requests the clients sent. To configure the service parameters and receive service requests, you must first create a paired Receive Service Request block and specify all the parameters in the Receive Service Request block mask. You can then process incoming service requests in the model, construct appropriate responses, and then use the Send Service Response to return the service response to the clients. The service server is associated with the node of the Simulink model.
Note
For each Send Service Response block you add in a model, you must create a paired Receive Service Request block only by clicking Click to create paired Receive Request block in the block mask.
Examples
Create ROS 2 Service Server in Simulink
Set up a ROS 2 service server in Simulink® which provides the vector cross product as response for any two input vectors. You then create a service client, connect to the service server and send a service request with two input vectors.
Ports
Input
Parameters
Extended Capabilities
Version History
Introduced in R2024a