Monitoring Signals for Gyroscope Calibration Using the VEX V5 Touch Screen
VEX® V5 touch screen can be used to visualize and monitor the signals for Gyroscope. This topic helps you to use VEX V5 touch screen to visualize Gyroscope output.
To monitor signals for Gyroscope calibration using VEX V5 touch screen, you need to get the correct scale factor for the Gyroscope. Each VEX V5 Gyroscope might differ from each another. The Gyroscope calibrates for a couple of seconds while starting the program. This removes the zero offset but not any error in scale factor. For example, if you turn your robot by 90 degrees, the sensor output might be only 60 degrees. This indicates that the scale factor needs correction. Perform these steps to obtain the correct scale factor for the Gyroscope and monitor signals using VEX V5 touch screen.
Note
The following instructions works from MATLAB® R2020b. If you are using an earlier release, display will not be generated on VEX V5 Robot Brain. Instead, the sensor values must be visualised by using Monitor & Tune (external mode) feature. For more information on Monitor & Tune feature, see Tune and Monitor the Model Running on VEX EDR V5 Robot Brain.
Step1: Insert a Gyroscope block.
On the Simulation tab, click Library Browser.
Select Simulink > Simulink Coder Support Package for VEX EDR Robot Brain > Sensors and then add Gyroscope block to the model.
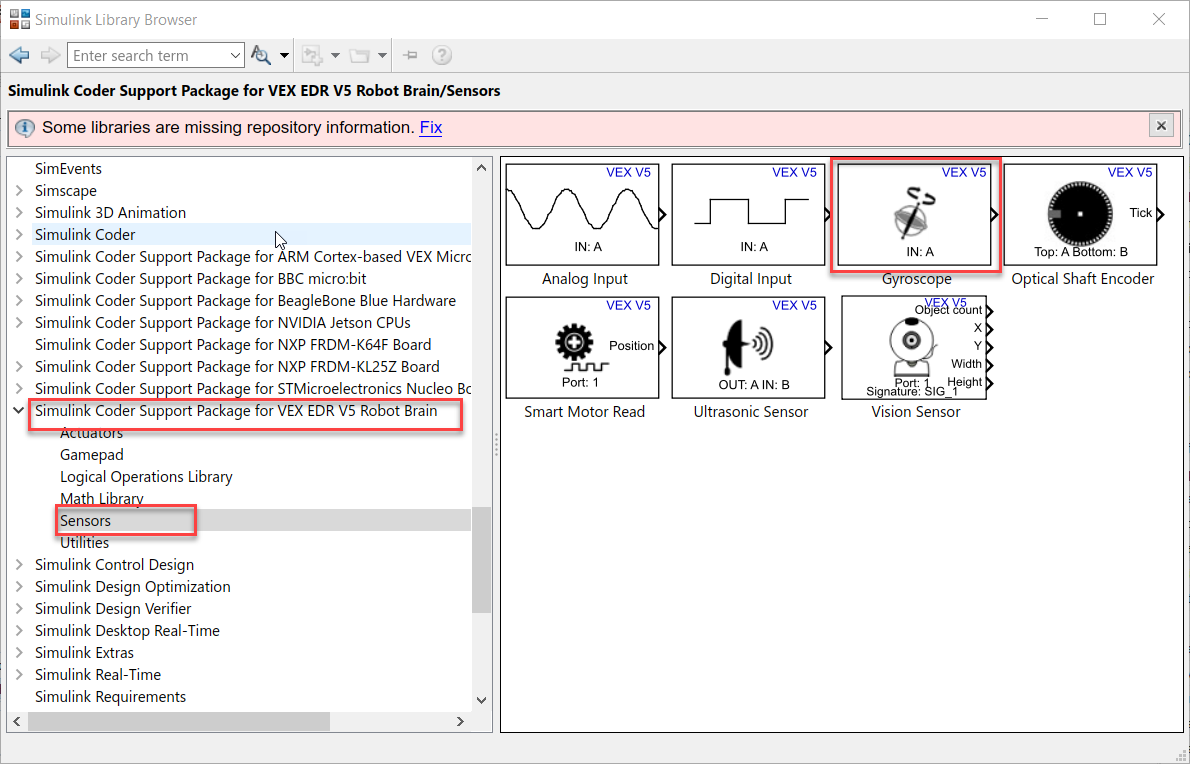
Alternatively, you can search for vex Gyroscope block and insert it.

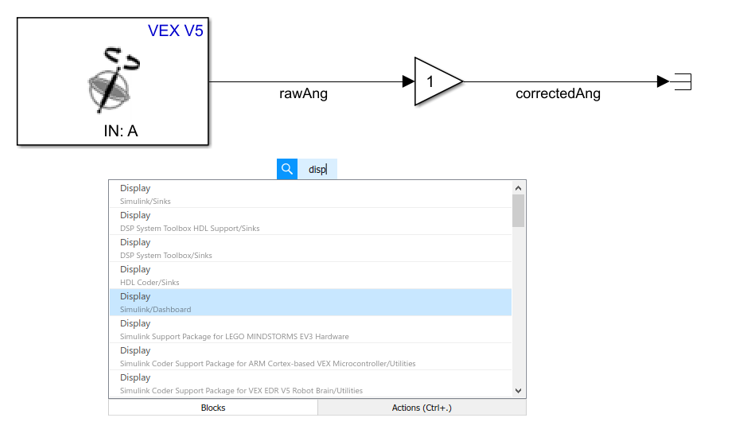
Step 2: Add a Gain block and a Terminator or Outport block. Connect them as shown below.

Step 3: Name the signals: Double-Click on the signal lines and provide a name to them.

Step 4: Add Display Simulink Dashboard block to the model.
Display block is be used to visualize sensor values on the V5 Touch Display. Double-click to open Simulink Quick Insert and search for display block. Select from Display (Simulink/Dashboard) and insert it.
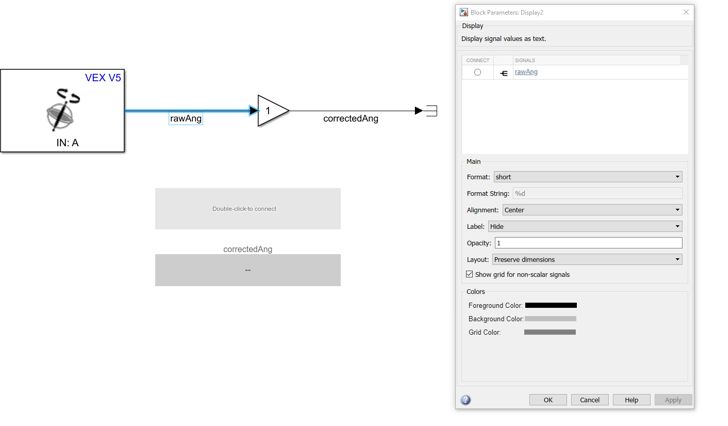
Step5: Connect the signals to the Display block.
Double-click on the Display block to open its Block Parameters dialog box. Click on rawAng signal.
Step6: Promote the display blocks to a panel.
The display blocks must be promoted to a panel to display them on VEX V5 touch display. Select the area around the blocks and promote them to Panel as shown below.

Step 7: Select VEX V5 Hardware
On the Hardware tab, click Hardware Settings to open the Configuration Parameters dialog box.
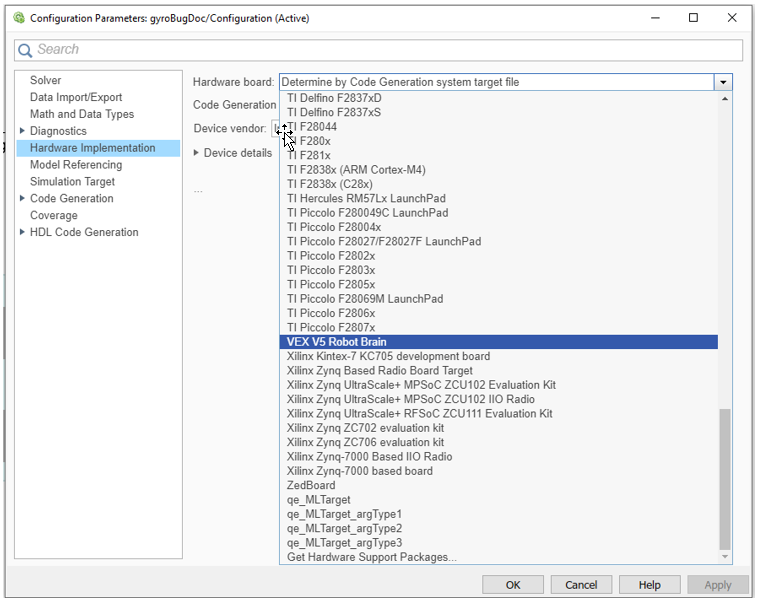
Select the Hardware Implementation pane and select
VEX V5 Robot Brainfrom the Hardware board parameter list and then Click OK.
Step 8: Connect Gyroscope block to ADI port
A in VEX V5 Brain. Then, on the Hardware
tab, select Build, Deploy & Start to deploy the model to the
VEX V5 Brain.

To set the scale factor in the Gain block, rotate the Gyroscope by 90
degrees and note down the rawAng value displayed on VEX V5 Touch
Screen. Divide 90 by the rawAng and set the result in the
Gain block.
Step 9: Verification.
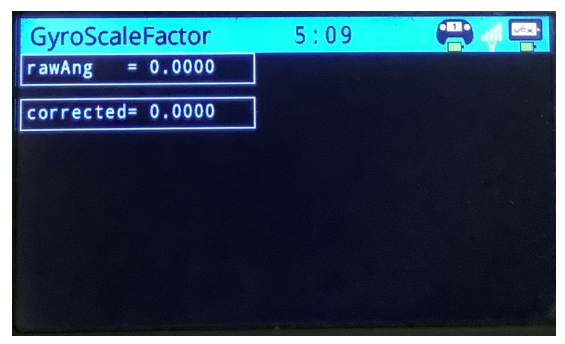
Deploy the model again to hardware and verify the value corrected.
A sample screen is shown below.
