Share Subset of Project Files Using Labels
This example shows how to export a release version of your project using an export profile. Export profiles use labels to remove files from the project when you create an archive. Use export profile to exclude files that are only useful for project development.
Open the example to download the example project.
Explore Project Labels
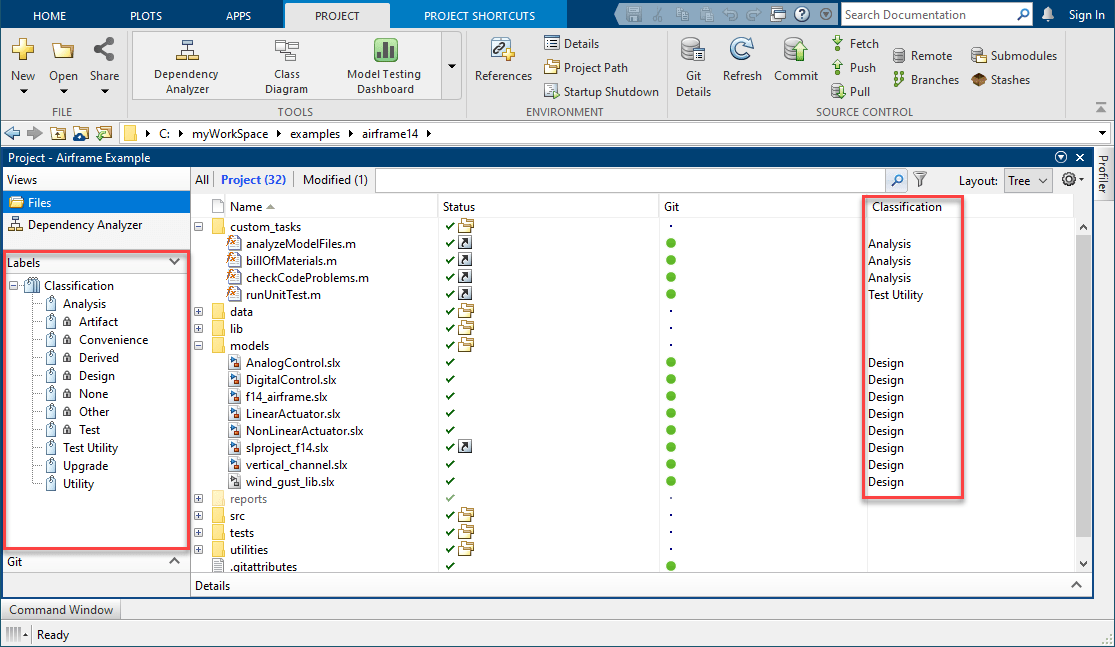
To explore the set of labels in a project, in the Project toolstrip, click Settings. Then, scroll to the Labels section.

Every project has a default set of read-only classification labels.
This example project adds four user-defined labels in the Classification label category:
Analysis,Upgrade,Utility, andTest Utility. To create a new label in the default categoryClassification, selectClassificationand click New Label. For more information, see Create and Manage Labels.
You can use labels to perform these tasks:
Define the purpose of each file in the project. For example, this project uses the user-defined labels to identify which files are used for custom analysis tasks, are upgrading to the latest version, and are general-purpose utility functions. To attach a label to a project file, in the Project panel, right-click the file and select Add Label > categoryName > LabelName.
Exclude files from a project archive before you share the archive with other users.
Explore and Create Export Profiles
Some project files are useful only in the development phase of the project. To share a release version of your project, you can use labels to exclude files from the project archive. For this example, you do not want to share project files labeled Analysis, Test, Test Utility, and Upgrade.
Use the Export Profile tool to manage which files to include in or exclude from the archived project.
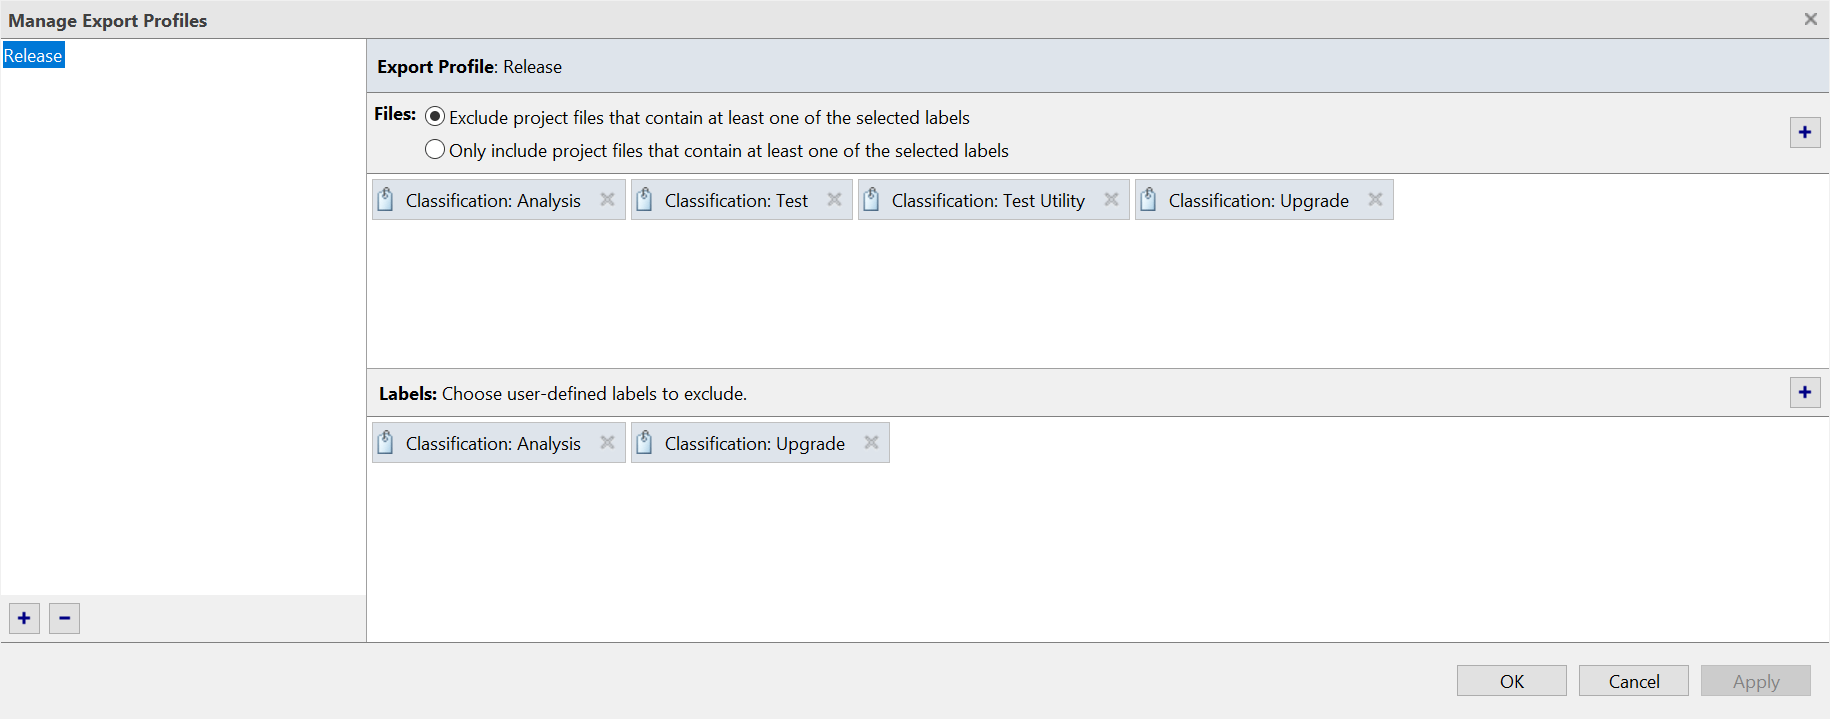
To view the available export profiles for a project, in the Project toolstrip, select Share > Manage Export Profiles. The pane on the left lists the existing export profiles. This example project has one export profile called Release. This export profile excludes the project files with the labels listed in the Files pane. The Release profile also removes the labels listed in the Labels pane from the exported project.
To create a new export profile, click + and specify a name for the export profile.
1. In the Files pane, choose to exclude files from the final project archive based on their labels. If the files you need to share are only a small subset of a large project, choose the option to include files instead.
2. In the Files pane, click + and select the labels for the files you want to exclude or include, and then click OK.
3. You can also exclude user-defined labels from the exported project. In the Labels pane, click +, select the custom labels you do not want to export, and then click OK.
4. Click Apply to save your changes.
Export Project Using Export Profile
To share a release version of your project that does not contain the project files labeled Analysis, Test, Test Utility, and Upgrade, use the Release export profile.
1. In the Project toolstrip, select Share > Archive.
2. Select the Release export profile.
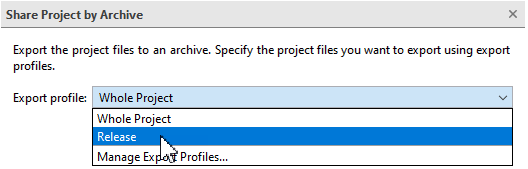
3. Click Save As.
4. Specify the archive filename and type, then click Save.
Alternatively, use the export function to export the project programmatically.
proj = currentProject;
export(proj,"myProjectArchive.mlproj",ExportProfile="Release")