Import and Export Scenes with RoadRunner
From the series: Getting Started with RoadRunner
Learn how to use RoadRunner to import and export openDRIVE® files. Make edits to 3D scenes and export them to file formats like FBX® and openDRIVE or use them in simulators such as CARLA.
Published: 18 Aug 2020
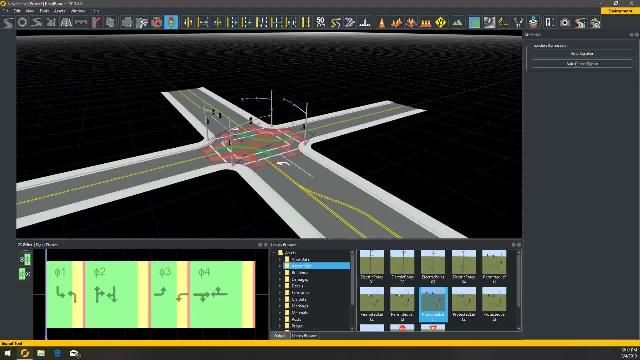
RoadRunner is an interactive editor that lets you design 3D scenes for assimilating and testing automated driving systems. In this video, I'm going to show you RoadRunner's import and export features. With RoadRunner, you can customize roadway scenes by adding signs, stencils, props, signals and other 3D models. You can also import and export road networks into RoadRunner using Open Drive, an open file format that enables you to specify large and complex road networks to facilitate the detection between different driving simulators.
To get started, the first step is to look at the existing Open Drive file. To import the file, drag and drop the file into RoadRunner's library browser.
Next, open the Attribute option from the Window tab and set the production mode to full production. If the Open Drive file already has a georeference, drag and drop the file into RoadRunner's canvas. If the file does not have a georeference, in order to specify one, click on Set Custom Projection option.
Here you can specify the custom latitude, longitude, import 3D file predictions, or simply select the default options. After this step, click Use Transverse Mercator, and click OK to apply the changes. Now click and drag the Open Drive file from the library browser into the scene. This action automatically switches to the Open Drive viewer too.
To edit the road network, click the imported file in the 3D scene, and click Convert Roads button in the Actions toolbar. This converts the Open Drive file into a RoadRunner internal format so that you can edit the road network. You can use all the available tools inside RoadRunner to make additions to this road network. Let's make a few changes to this network.
I'm going to add some Yield markings in front of the roads approaching the roundabout. To do so, navigate to the Stencils folder in the library browser and select the Yield marking. I will also change the markings on the road to test the sensor. These road markings can be found under the Markings folder in the assets. Once the road has been edited, use the Export option to export the file into a variety of formats, such as AutoCAD, OpenFlight, Filmbox, OpenDRIVE, or into other simulators such as Unity, Unreal, Metamodel, and more.
For more details on this, check out the RoadRunner's documentation page.


