Configure Polyspace Options in Simulink
Configure basic and advanced Polyspace® options when analyzing generated code. You can reuse existing configuration across multiple analysis.
To get started with Polyspace analysis in Simulink®, see Run Polyspace Analysis on Code Generated with Embedded Coder.
Configure Options
Set basic options
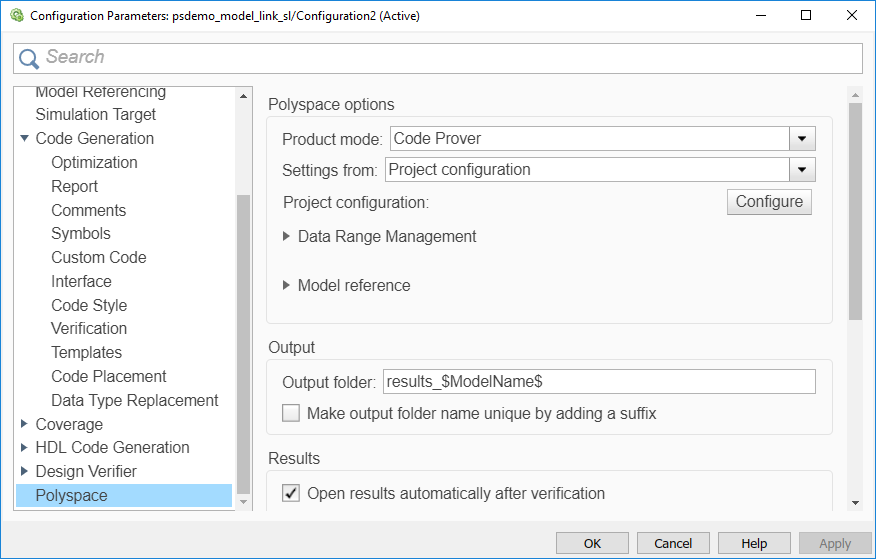
To set the basic Polyspace options in the Simulink Configuration Parameters window, on the Apps tab, select Polyspace Code Verifier. Then, on the Polyspace tab, select Settings or Settings > Polyspace Settings.

Set advanced options
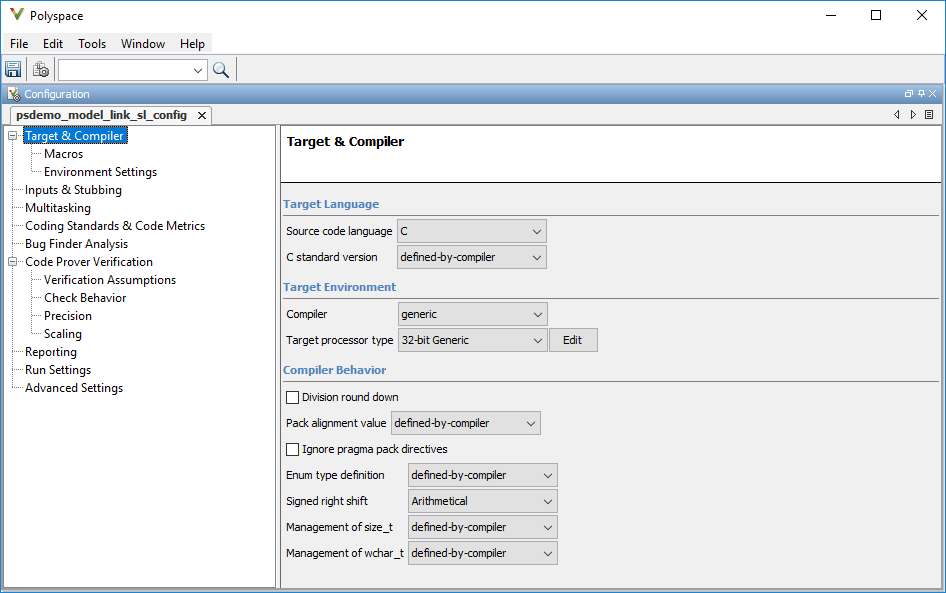
The advanced options appear on the Configuration pane that also appears in the Polyspace user interface when you manually create a project for handwritten code.
To open the advanced options, on the Polyspace tab, select Settings > Project Settings.

On this pane, you can specify advanced settings.
In the Run Settings pane, select options to run the code analysis on a remote cluster. Alternatively, in the Advanced Settings pane, use the option
Run Bug Finder or Code Prover analysis on a remote cluster (-batch)in the Other field.If you use this option, after starting the analysis, you can follow the analysis progress on the remote cluster through the Job Monitor window. On the Polyspace tab, select Remote Job Monitor.
In the Inputs & Stubbing pane, specify options to stub certain functions for the analysis and then constrain the function output. Alternatively, in the Advanced Settings pane, use the options
Functions to stub (-functions-to-stub)andConstraint setup (-data-range-specifications)in the Other field.
For the full list of options, see Complete List of Polyspace Code Prover Analysis Options. You can make an options file and specify the options file in the Other field in the Advanced Settings pane. See -options-file.
If a basic option in the Configuration Parameters window directly conflicts with an advanced option in the Polyspace window, the former prevails. For instance, say you specify these options:
Settings from (C): You select this basic option
Project configuration and MISRA C 2012 checking for generated code.Check MISRA C:2012 (-misra3): You disable this advanced option.
Polyspace ignores the advanced option and checks for violations of MISRA C™:2012 rules.
By default, the advanced options are saved in the project file modelname_config.psprjpslink_config subfolder of the results folder. Use this project file to reuse the options associated with the project..
Share and Reuse Configuration
Share the basic or advanced options across multiple models.
Basic options — Share and reuse the options set in the Configuration Parameters window. See Share a Configuration with Multiple Models (Simulink).
Advanced options — Share and reuse the advanced options that are in a separate Polyspace project. Share this project across multiple models. When reusing advanced Polyspace options that are saved in a Polyspace project file, use a project file that is configured by using the Polyspace App in the Simulink Editor, as shown in Set advanced options. Reusing a project file that is not generated from the Simulink Editor can result in unexpected results.
You can specify the advanced options once, and then reuse the advanced options across multiple models. Set the basic options in each model individually.
Set options from model
Set the advanced options as needed. To see where the associated project file
is stored or to change the file name, on the Polyspace window toolbar, click the ![]() icon.
icon.
Reuse options in another model
To reuse the advanced options in another model, open the open the model and open the Configuration Parameters window. On the Polyspace tab, select Settings.
Select Use custom project file. Provide the path to the
*.psprjproject file that you previously created.To use the project settings, select
Project configurationunder Settings from.If you want to check for additional issues, such as MISRA C: 2012 violations, select the options
Project configuration and MISRA C 2012 checking for generated code.
If you run an analysis from the command line, you can set these options with the pslinkoptions function. See also pslinkoptions Properties.