Create Interactive Viewer-Based ROIs
R2026bInteractive viewer-based ROIs enable you to draw, edit, and measure regions of
interest on images and volumes displayed using imageshow and
volshow. Interactive ROIs support dragging, resizing, event
callbacks, and measurement labels. Use interactive viewer-based ROIs to manually
annotate an image, build annotation workflows in apps, or respond to user interactions
with ROI shapes.
You can create viewer-based ROI objects using these approaches.
Interactively from the viewer toolbar. In a
Viewerobject toolbar, select the Draw annotations icon , then select a shape to draw. Click and
drag to draw the ROI. To export the ROI as an object, right-click the shape
and select Export annotation to workspace.
, then select a shape to draw. Click and
drag to draw the ROI. To export the ROI as an object, right-click the shape
and select Export annotation to workspace.Using the
uidrawfunction, which enables you to interactively draw or programmatically specify an ROI in a single command. Use theuidrawfunction to create shapes that are not available in the viewer toolbar, or if you want to set the label or color before you draw the shape.Programmatically using an object creation function, such as
images.ui.graphics.roi.Circle. To display the ROI, add the object to theAnnotationsproperty of aViewerobject. Use this approach to more flexibly control the appearance and behavior of an ROI. For example, you can specify the face transparency or interactivity of ROIs within apps as you build them.
The table summarizes the options for creating each viewer-based ROI object.
| Description | Viewer Toolbar Support | uidraw Syntax | Object Creation Function |
|---|---|---|---|
| 2-D and 3-D | uidraw(viewer,"line") | images.ui.graphics.roi.Line |
| 2-D and 3-D | uidraw(viewer,"point") | images.ui.graphics.roi.Point |
| 2-D only | uidraw(viewer,"rectangle") | images.ui.graphics.roi.Rectangle |
| 2-D only | uidraw(viewer,"circle") | images.ui.graphics.roi.Circle |
| 2-D only | uidraw(viewer,"polygon") | images.ui.graphics.roi.Polygon |
| 2-D only | uidraw(viewer,"angle") | images.ui.graphics.roi.Angle |
| None | uidraw(viewer,"polyline") | images.ui.graphics.roi.Polyline |
| None | uidraw(viewer,"freehand") | images.ui.graphics.roi.Freehand |
| None | uidraw(viewer,"ellipse") | images.ui.graphics.roi.Ellipse |
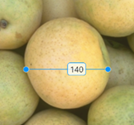
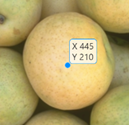
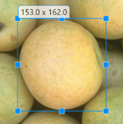
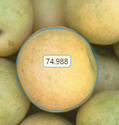
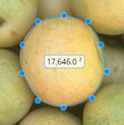
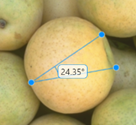
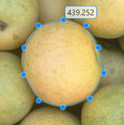


Create Viewer-Based ROIs
This example shows how to create viewer-based ROIs.
Create ROI from Viewer Toolbar
Read and display an image in a Viewer object.
Im = imageshow("pears.png");
viewer = Im.Parent;
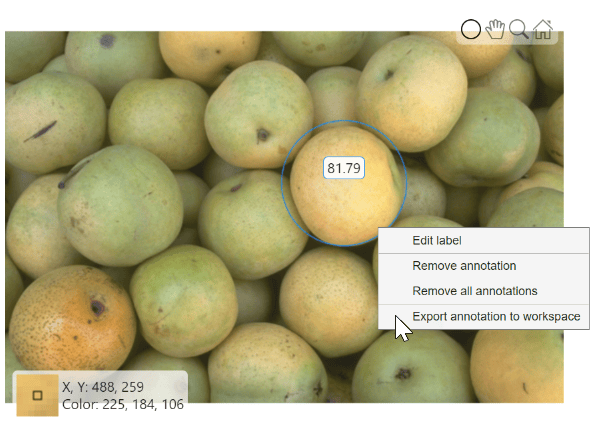
From the toolbar in the top-right corner of the viewer, select the Draw annotations icon  and then select the Draw circle icon. Click and drag to draw the ROI. To export the ROI as an object, right-click the ROI and select Export annotation to workspace.
Create ROI Using uidraw
The uidraw function enables you to interactively draw or programmatically specify ROIs.
Display the image in a new viewer.
Im2 = imageshow("pears.png");
viewer2 = Im2.Parent;
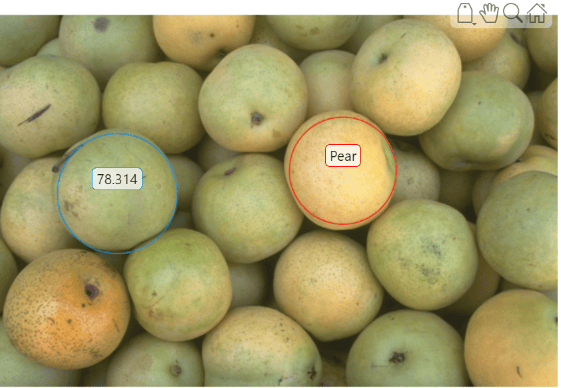
Create a circle ROI by using the uidraw function, which enables an interactive drawing mode in the viewer. Click and drag in the viewer to draw the circle.
roi = uidraw(viewer2,"circle");To create an ROI fully programmatically, specify the Position argument. For a circle, specify the position as a vector of the form [x y radius]. You can also customize the ROI color and label.
roi2 = uidraw(viewer2,"circle",Position=[450 204 70],Color="r",Label="Pear");
Create ROI Using Object Creation Function
Object creation functions enable you to programmatically create ROIs with more customization options than the uidraw function.
Display the pears image in a new viewer.
Im3 = imageshow("pears.png");
viewer3 = Im3.Parent;
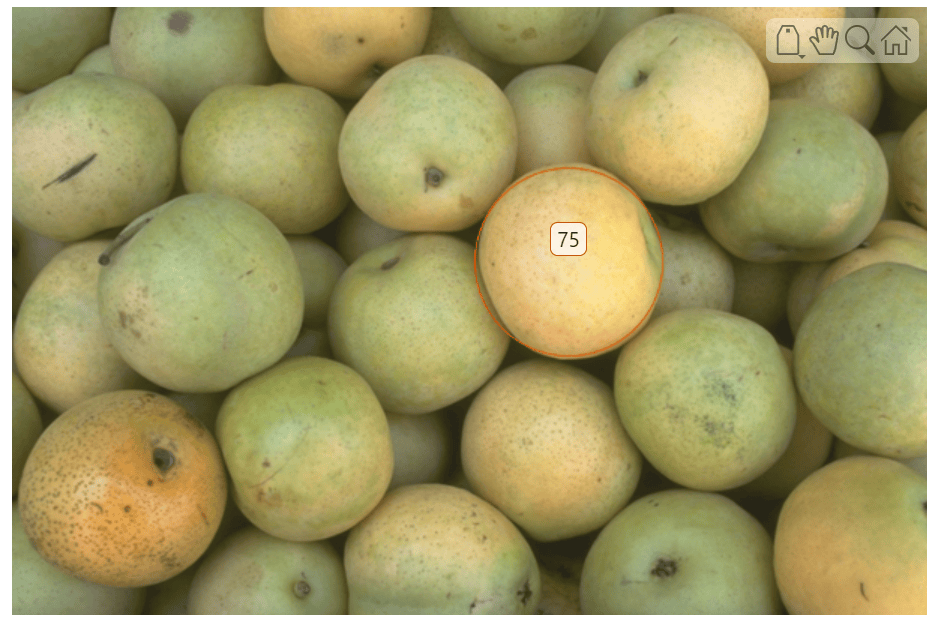
Create a circular ROI object. Use the Center and Radius properties to specify the position and size of the circle. To display the ROI, add it to the Annotations property of the Viewer object.
roi3 = images.ui.graphics.roi.Circle(Center=[445 204],Radius=75);
viewer3.Annotations = [viewer3.Annotations roi3];
Create Interactive Viewer-Based ROIs in Apps
To display interactive viewer-based ROIs in an app, create them in a
Viewer object whose parent is a container component in your
app. For example, you can parent the viewer to a figure, panel, or grid layout. You
specify the code to create the viewer and ROIs using callback functions.
For example, you can configure an app to display an image and add a circular ROI
within a panel. First, in the Design View of App Designer, drag
a Panel component from the Component
Library onto the canvas. Then, create a startupFcn
callback by right-clicking the app node from the top of the Component
Browser hierarchy and selecting Callbacks > Add StartupFcn callback. App Designer creates the function and places the cursor in the body
of the function in Code View. Specify code to create a viewer,
display the image, and create the ROI. You must specify the panel,
app.Panel, as the parent of the viewer, and the viewer as the
parent of the image and the ROI.
function startupFcn(app)
    viewer = viewer2d(Parent=app.Panel);
    imageshow("pears.png",Parent=viewer);
    circleROI = uidraw(viewer,"circle")
end
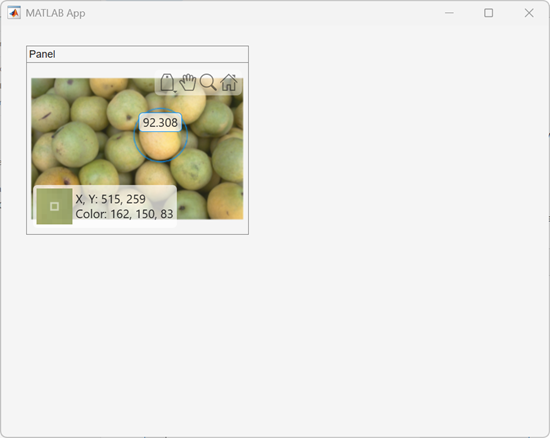
Click Run to save and run the app. The app opens and displays the image. Click and drag to draw the circle ROI on the image.
You can also create a viewer-based ROI by calling its object creation function,
such as images.ui.graphics.roi.Circle. After you create an ROI,
add it to the Annotations property of a Viewer
object whose parent is a container component in your app.

