Create Static Viewer-Based ROIs
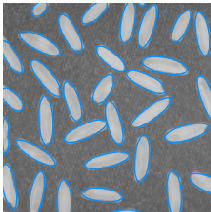
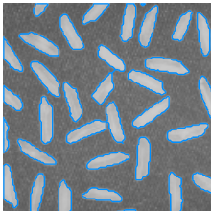
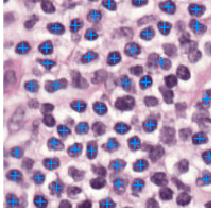
R2026b Static viewer-based annotations enable you to display large numbers of shapes on
images and volumes displayed using imageshow and
volshow. Static annotations scale efficiently to hundreds of
thousands or millions of shapes with smooth pan and zoom performance. Use static
annotations to overlay detection results, segmentation boundaries, or vector fields on
an image or volume. For best performance, specify all of the shapes to display in a
single static annotations object.
You can create viewer-based ROI objects using these approaches.
Using the
uiannotatefunction, which enables you to create the ROI and display it in a specified viewer.Using an object creation function, such as
images.ui.graphics.roi.static.Circles. Display the ROI in a viewer by specifying theParentproperty value as the targetViewerobject during creation. Alternatively, display an ROI after you create it by adding the object to theAnnotationsproperty of aViewerobject.
The table summarizes the options for creating each viewer-based ROI object.
| Description | uiannotate Syntax | Object Creation Function |
|---|---|---|
| uiannotate(viewer,"line",pos) | images.ui.graphics.roi.static.Lines |
| uiannotate(viewer,"point",pos) | images.ui.graphics.roi.static.Points |
| uiannotate(viewer,"rectangle",pos) | images.ui.graphics.roi.static.Rectangles |
| uiannotate(viewer,"circle",pos) | images.ui.graphics.roi.static.Circles |
| uiannotate(viewer,"ellipse",pos) | images.ui.graphics.roi.static.Ellipses |
| uiannotate(viewer,"polyline",pos) | images.ui.graphics.roi.static.Polylines |
| uiannotate(viewer,"arrow",pos) | images.ui.graphics.roi.static.Arrows |
| uiannotate(viewer,"plus",pos) | images.ui.graphics.roi.static.Plusses |
| uiannotate(viewer,"cuboid",pos) | images.ui.graphics.roi.static.Cubiods |
| uiannotate(viewer,"sphere",pos) | images.ui.graphics.roi.static.Spheres |
| uiannotate(viewer,"ellipsoid",pos) | images.ui.graphics.roi.static.Ellipsoids |
| uiannotate(viewer,"cylinder",pos) | images.ui.graphics.roi.static.Cylinders |
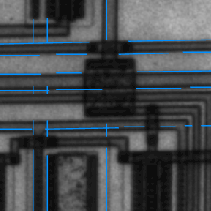
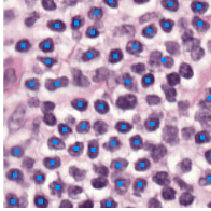
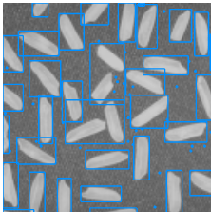
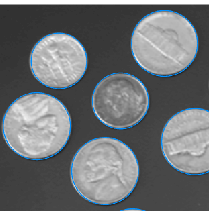
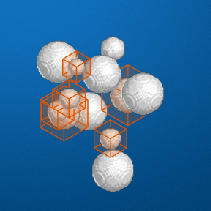
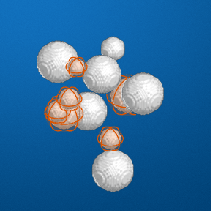
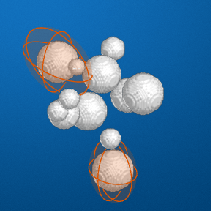
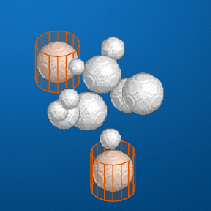
Create Static ROI Annotations
This example shows how to create static viewer-based ROIs.
Create ROI Using uiannotate
The uiannotate function enables you to programmatically specify any of the static ROI shapes.
Read and display an image in a Viewer object. The viewer is the parent of the Image object created by imageshow.
Im = imageshow("pears.png");
viewer = Im.Parent;
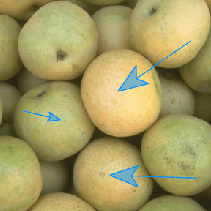
Specify the position of the ROIs to display. For this example, define three arrows by creating a matrix in which each row defines one arrow in the format [x1 y1 x2 y2]. Each arrow points from the point (x1, y1) to the point (x2, y2).
pos = [570 110 440 200; ...
    580 355 425 350; ...
    140 350 235 355];
Display the ROI shapes by using the uiannotate function. Specify the viewer to display the ROI in, the shape to draw, and the position data. Displaying multiple annotations using one uiannotate call improves performance compared to making separate calls for each shape.
roi = uiannotate(viewer,"arrow",pos);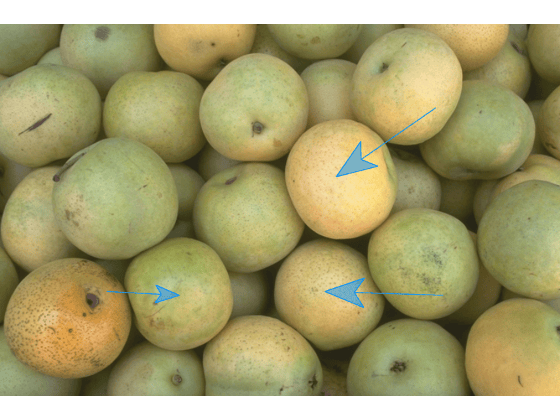
The uiannotate function has name-value arguments to optionally customize the color, transparency, and visibility of the ROIs you create. Display the arrows in a new viewer, specifying the color as red.
Im2 = imageshow("pears.png");
viewer2 = Im2.Parent;
roi2 = uiannotate(viewer2,"arrow",pos,Color="red");
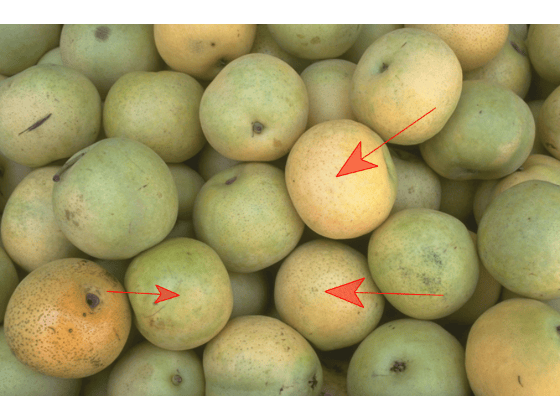
Create ROI Using Object Creation Function
Alternatively, create a static ROI object directly by using its creation function. Each shape has a different creation function. You can specify properties as name-value arguments to modify the appearance and behavior during object creation.
Display the image in a new viewer. Create an arrows object using the creation function, specifying the parent as the viewer, the color as red, and the face opacity as 1.
Im3 = imageshow("pears.png");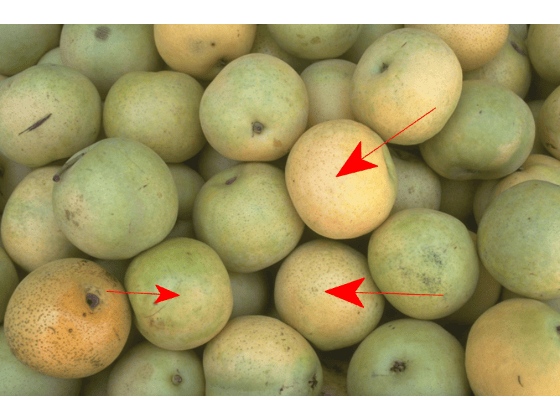
viewer3 = Im3.Parent;
roi3 = images.ui.graphics.roi.static.Arrows(Parent=viewer3,Position=pos,Color="red",FaceAlpha=1);
Create Static ROIs in Apps
To display static viewer-based ROIs in an app, create them in a
Viewer object whose parent is a container component in your
app. For example, you can parent the viewer to a figure, panel, or grid layout. You
specify the code to create the viewer and ROIs using callback functions.
For example, you can configure an app to display an image and add a circular ROI
within a panel. First, in the Design View of App Designer, drag
a Panel component from the Component
Library onto the canvas. Then, create a startupFcn
callback by right-clicking the app node from the top of the Component
Browser hierarchy and selecting Callbacks > Add StartupFcn callback. App Designer creates the function and places the cursor in the body
of the function in Code View. Specify code to create a viewer,
display the image, and create the ROI. You must specify the panel,
app.Panel, as the parent of the viewer, and the viewer as the
parent of the image and the ROI.
function startupFcn(app)
    viewer = viewer2d(Parent=app.Panel);
    imageshow("pears.png",Parent=viewer);
    pos = [365 120 166 165;
    160 275 150 155];
    r = uiannotate(viewer,"rectangle",pos);
end
Click Run to save and run the app. The app opens and displays the image with the rectangle ROI annotations.
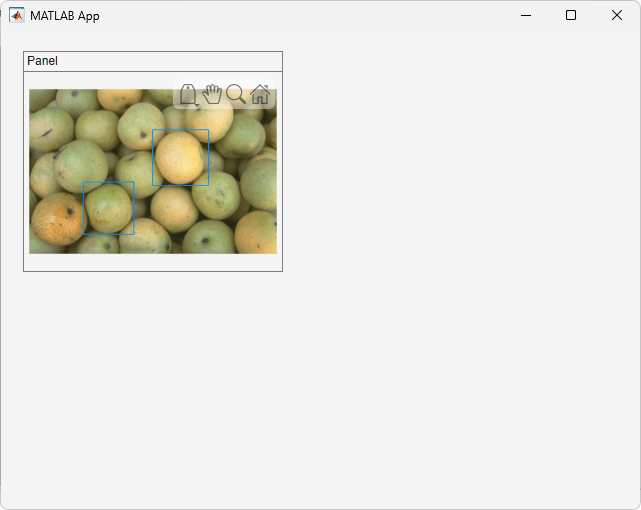
You can also create a viewer-based ROI by calling its object creation function,
such as images.ui.graphics.roi.static.Rectangles. After you
create an ROI, add it to the Annotations property of a
Viewer object whose parent is a container component in your
app.

