创建停车场
此示例显示如何在 RoadRunner 中创建停车场结构。典型的北美停车场由多个重复的停车位层组成,并带有连接坡道,通常带有停车位,将各层连接在一起。要在 RoadRunner 中创建停车场,请按照以下步骤操作:
创建一层停车场的模板。
修改地面模板的实例。
复制、粘贴、翻译和连接停车场层的实例。
修改顶层路线。
将任何其他元素添加到结构或周围环境中。
接下来的部分详细描述了列出的步骤。
创建停车场场景模板
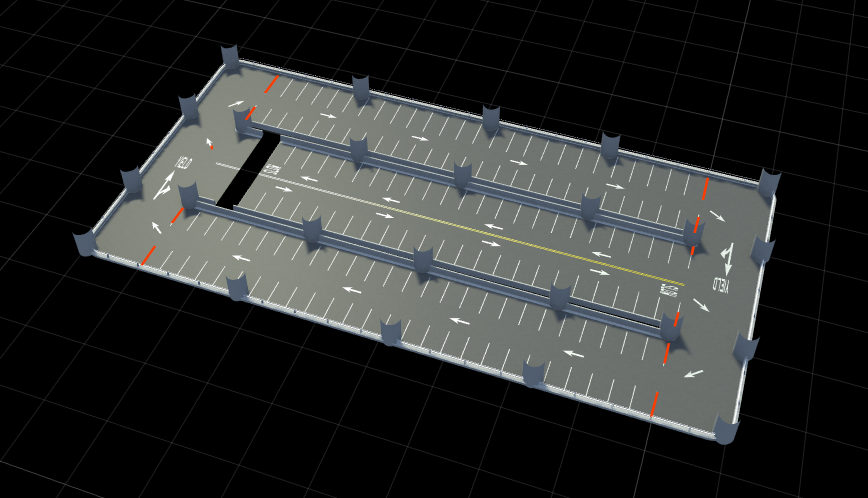
开发所需的单层停车场布局。此示例考虑具有连接各层的分车道坡道的外部车道以及坡道两侧的停车位。使用车道添加工具、停车工具和车道标记工具添加停车位。使用自定义交叉口工具创建车库的末端,并对半径进行一些调整。在这一单层中,分车道坡道与外部车道处于同一水平面,这使得各层在堆叠时能够连接。
从素材库中向场景添加其他道具,包括:
Posts- 这些支柱堆叠起来后就成为车库的结构。Extrusions- 型材组成车库的内部和外部护栏。Stencils- 模板(例如SLOW和YIELD)指示车库中的预期交通流量。
该图显示了单层停车场的示例。
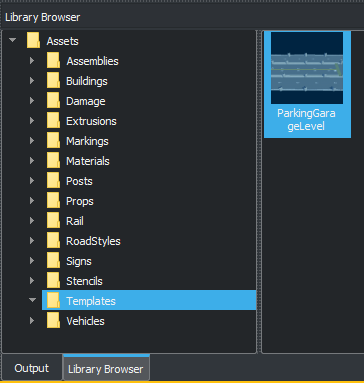
完成停车场的单层后,将该层保存为场景模板。在菜单中,选择 Assets,然后选择New > Folder并将文件夹命名为 Templates。选择New > Scene Template保存当前图层。为新素材选择一个名称,例如 ParkingGarageLevel。有关创建场景模板素材的更多信息,请参阅 创建、导入和修改场景素材。
创建地面
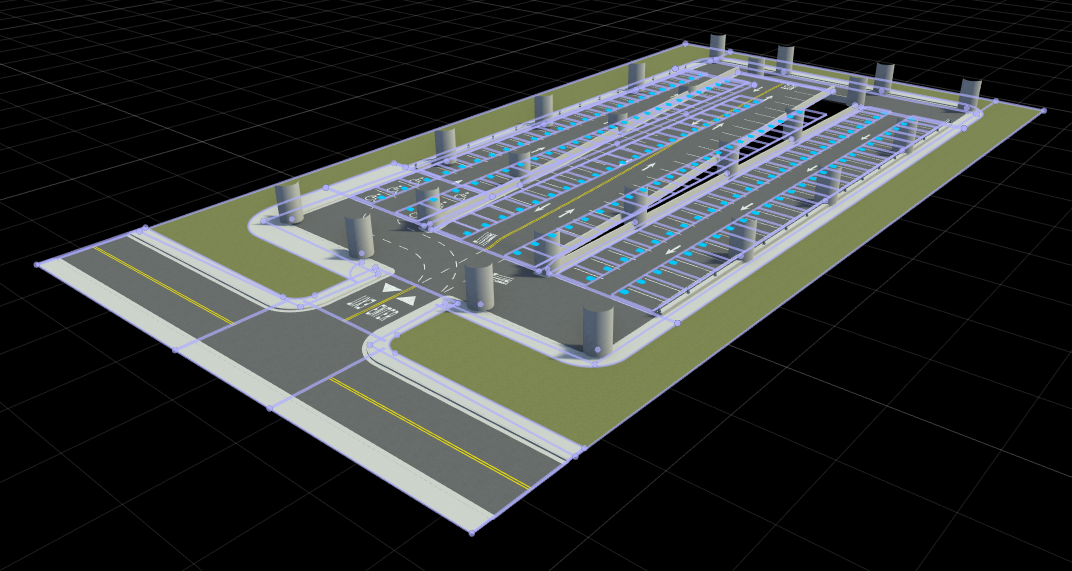
通过修改当前场景中的停车场标高来创建停车场的地面标高。示例地面场景包括以下修改:
使用路面工具添加的周围的草。
一条外部街道,与车库相连。
车库周围的人行道。
车库入口附近设有超宽无障碍指定停车位。
拆除一些护栏型材。
该图显示了停车场的地面层。
为停车场添加楼层
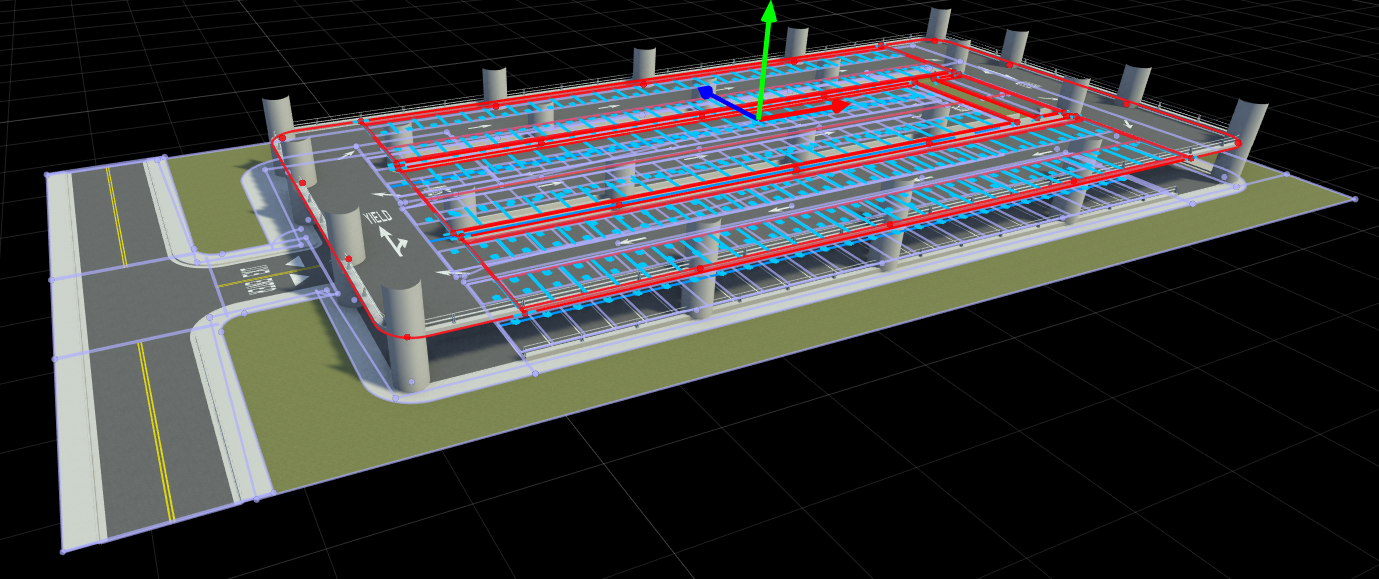
从 RoadRunner Asset Library 中拖动并定位上一节中创建的 ParkingGarageLevel 素材。使用 Posts 道具作为指导,将新标高与地面水平对齐。拖动绿色轴箭头来升高和降低水平仪,直到水平仪达到所需的高度。在仍然选择该级别的情况下,复制 (Ctrl+C) 该级别。
注意
点击轴箭头后,请勿释放按钮,直到水平仪处于最终所需位置。
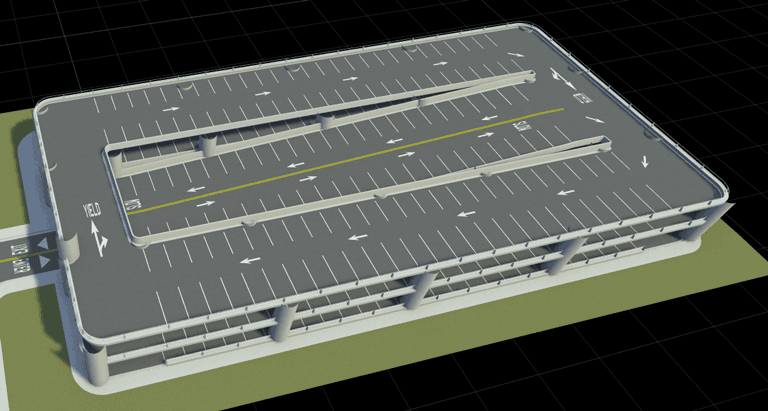
要添加其他级别,请粘贴 (Ctrl+V) 上一级的副本并重复前面的定位步骤,直到添加了所需数量的级别。该图显示了车库中添加的一个新级别。
在每个级别上,选择坡道。使用道路高度工具或 2D 编辑器调整坡道的坡度以将其连接到下一层。您可以使用道路规划工具将坡道连接至下一层。这些图显示了坡道和 2D Editor。

在车库的顶层,选择并删除坡道,因为它不连接到任何楼层。使用自定义连接工具,修改顶层交叉口半径以适应 Posts。
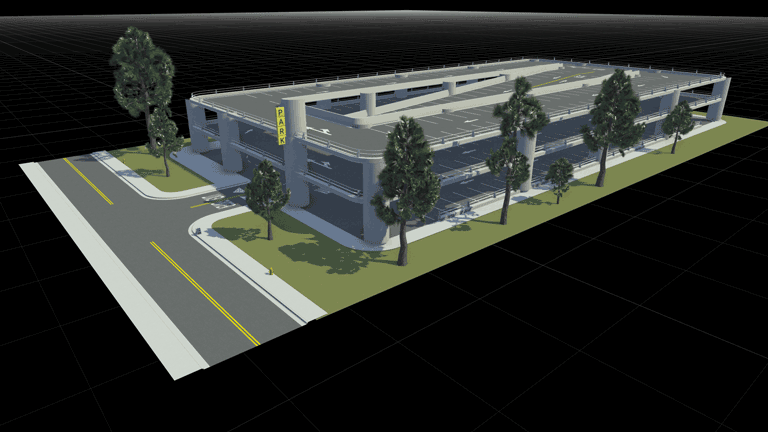
完整的车库结构
通过调整每个级别的特定元素(例如 Posts)或从 RoadRunner Asset Library 向场景添加额外道具来完成车库结构。在示例停车场中,添加了 Signs 和 Trees 以完成场景。此图显示了最终的停车场场景。
另请参阅
Custom Junction Tool | Road Height Tool | Road Plan Tool | Surface Tool
主题
- 创建、导入和修改场景素材
- Design Parking Scenario (RoadRunner Scenario)