将图像从 ESP32 摄像头板写入 ThingSpeak
此示例展示如何从 ESP32 摄像头板捕获图像并将其写入 ThingsSpeak® 图像通道。
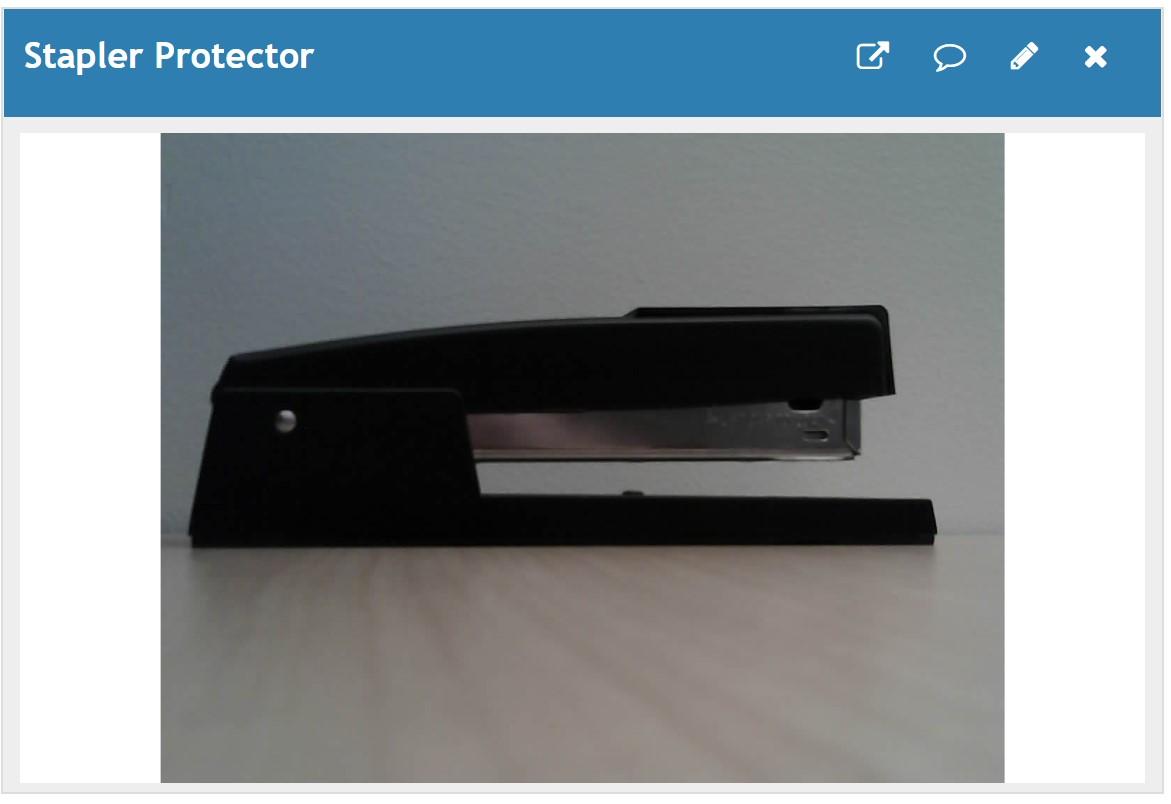
此示例使用与 A.I.Thinker 板兼容的 ESP32 相机板。通过调整定义的引脚即可使用其他类型。示例使用声纳接近传感器进行原型设计向您展示如何使用接近传感器来保证订书机的安全。在此示例中,您可以保留订书机的图像,以帮助阻止和抓住潜在的小偷。
设置
1) 按照创建图像通道中所述创建一个新的 ThingSpeak 图像通道。
2) 按照通过新通道收集数据所述创建一个新的 ThingSpeak 数据通道。
3) 按照图像显示中的描述,向数据通道视图添加一个图像显示小组件。
对 ESP32 进行编程
使用 Arduino IDE 为您的设备创建应用程序。
1) 使用 micro-USB 线将 ESP32 连接到计算机,并等待连接成功。

2) 在 Arduino IDE 中选择 ESP32 Dev Module 板和正确的 COM 端口。
3) 创建应用程序。在 Arduino IDE 中打开一个新窗口并保存文件。添加代码部分提供的代码。编辑图像通道的无线网络 SSID、密码和写入 API 密钥。
代码
1) 包含必要的库并定义连接参数。确保编辑 Wi-Fi 和图像通道参数以匹配您的设置。
#include "esp_camera.h"
#include <WiFiClientSecure.h>

#define PWDN     32
#define RESET    -1
#define XCLK      0
#define SIOD     26
#define SIOC     27
#define Y9       35
#define Y8       34
#define Y7       39
#define Y6       36
#define Y5       21
#define Y4       19
#define Y3       18
#define Y2        5
#define VSYNC    25
#define HREF     23
#define PCLK     22
// Network information.
#define WIFI_SSID "WIFI_NAME"
#define WIFI_PASSWORD "YOUR_WIFI_PASSWORD"

// ThingSpeak information.
#define IMAGE_CHANNEL_ID "YOUR_THINGSPEAK_IMAGE_CHANNEL_ID"
#define IMAGE_CHANNEL_API_KEY "YOUR_THINGSPEAK_IMAGE_CHANNEL_API_KEY"

#define THINGSPEAK_ADDRESS "data.thingspeak.com"

#define RESPONSE_TIMEOUT 5000
#define MAX_BLOCK_SIZE 16384
#define SNAPSHOT_PERIOD 50000

WiFiClientSecure client = NULL;
unsigned long previousSnapshotTime = 0;
bool cameraAvailable = false;
2) 连接到本地 Wi-Fi 网络。
void connectWifi()
{
    while (WiFi.status() != WL_CONNECTED) {
        WiFi.begin( WIFI_SSID, WIFI_PASSWORD );
        Serial.println( "Connecting to Wi-Fi" );
        delay( 5000 );
    }
    // Skip checking of server certs.
    client.setInsecure();
    Serial.println( "WiFi Connected" );
}
3) 初始化相机。
bool initCamera() {
  static camera_config_t config  = {
    .pin_pwdn = PWDN,
    .pin_reset = RESET,
    .pin_xclk = XCLK,
    .pin_sscb_sda = SIOD,
    .pin_sscb_scl = SIOC,
    .pin_d7 = Y9,
    .pin_d6 = Y8,
    .pin_d5 = Y7,
    .pin_d4 = Y6,
    .pin_d3 = Y5,
    .pin_d2 = Y4,
    .pin_d1 = Y3,
    .pin_d0 = Y2,
    .pin_vsync = VSYNC,
    .pin_href = HREF,
    .pin_pclk = PCLK,
    .xclk_freq_hz = 20000000,
    .ledc_timer = LEDC_TIMER_0,
    .ledc_channel = LEDC_CHANNEL_0,
    .pixel_format = PIXFORMAT_JPEG,
    .frame_size = FRAMESIZE_QSXGA,
    .jpeg_quality = 10,
    .fb_count = 1,
  };

  if (esp_camera_init(&config) != ESP_OK) {
    Serial.println("Camera initialization failed");
    return false;
  }

  sensor_t * s = esp_camera_sensor_get();
  s->set_brightness(s, 0); // -2 to 2
  s->set_contrast(s, 2); // -2 to 2
  s->set_saturation(s, -2); // -2 to 2
  s->set_whitebal(s, 1); // 0 = disable , 1 = enable
  s->set_awb_gain(s, 1); // 0 = disable , 1 = enable
  s->set_wb_mode(s, 0); // 0 to 4 - if awb_gain enabled (0 - Auto, 1 - Sunny, 2 - Cloudy, 3 - Office, 4 - Home)
  s->set_exposure_ctrl(s, 1); // 0 = disable , 1 = enable
  s->set_aec2(s, 1); // 0 = disable , 1 = enable
  s->set_gain_ctrl(s, 0); // 0 = disable , 1 = enable
  s->set_agc_gain(s, 0); // 0 to 30
  s->set_gainceiling(s, (gainceiling_t)6); // 0 to 6
  s->set_bpc(s, 1); // 0 = disable , 1 = enable
  s->set_wpc(s, 1); // 0 = disable , 1 = enable
  s->set_raw_gma(s, 1); // 0 = disable , 1 = enable (makes much lighter and noisy)
  s->set_lenc(s, 1); // 0 = disable , 1 = enable
  s->set_hmirror(s, 0); // 0 = disable , 1 = enable
  s->set_vflip(s, 0); // 0 = disable , 1 = enable
  s->set_dcw(s, 0); // 0 = disable , 1 = enable
  return true;
}
4) 将来自 ThingSpeak 服务器的响应打印到串行端口。
void printResponse(){

  unsigned long startTime = millis();
  // Wait a few hundred milliseconds for server to process the request
  delay( 100 );
  while ( client.available() < 1 && (( millis() - startTime ) < RESPONSE_TIMEOUT ) ){
    delay( 10 );
  }

  // Read server response and print it to serial port
  if( client.available() > 0 ){
    do {
      Serial.write(client.read());
    } while ( client.available() > 0 );
    Serial.println(' ');
  }
}
5) 拍照并将图像发送至上面指示的 ThingSpeak 通道。将每个客户端打印回显到串行监视器以进行调试。
bool snapshotToThingSpeak() {
  bool result = false;
  // Only send image to ThingSpeak if sufficient time has passed since previous send.
  if ( cameraAvailable && ( millis() > previousSnapshotTime + SNAPSHOT_PERIOD) ) {
    // Capture a new image from the camera.
    camera_fb_t *frame = esp_camera_fb_get();
    if (!frame) return result;
    // Connect to ThingSpeak and send image
    // Echo client commands to serial port for debugging
    if (client.connect(THINGSPEAK_ADDRESS, 443)) {
      Serial.println("Writing image to ThingSpeak");
      client.print( "POST /channels/");
      Serial.print( "POST /channels/");
      client.print( IMAGE_CHANNEL_ID );
      Serial.print( IMAGE_CHANNEL_ID );
      client.println( "/images HTTP/1.1" );
      Serial.print( IMAGE_CHANNEL_ID );
      client.println( "Connection: close" );
      Serial.println( "Connection: close" );
      client.print( "Host: " );
      Serial.print( "Host: " );
      client.println(THINGSPEAK_ADDRESS);
      Serial.println(THINGSPEAK_ADDRESS);
      client.print( "Thingspeak-image-channel-api-key: ");
      Serial.print( "Thingspeak-image-channel-api-key: ");
      client.println( IMAGE_CHANNEL_API_KEY );
      Serial.println( IMAGE_CHANNEL_API_KEY );
      client.println( "Content-Type: image/jpeg" );
      Serial.println( "Content-Type: image/jpeg" );
      client.print( "Content-Length: ");
      Serial.print( "Content-Length: ");
      client.println(frame->len);
      Serial.println(frame->len);
      client.println(  );
      Serial.println(  );
      uint8_t *fbBuf = frame->buf;
      long int fbLen = frame->len;
      do {
        client.write(fbBuf, ( (fbLen > MAX_BLOCK_SIZE) ? MAX_BLOCK_SIZE : fbLen) );
        fbLen -= MAX_BLOCK_SIZE;
        fbBuf += MAX_BLOCK_SIZE;
      } while (fbLen > 0);
      client.flush();
      // Print out server response to serial port.
      printResponse();
      client.stop();
      result = true;
    } else {
      Serial.print("Unable to connect to ");
      Serial.println(THINGSPEAK_ADDRESS);
    }
    // Update the stored time when the last image was written.
    previousSnapshotTime = millis();
    // Free the memory buffer for the image so we don't leak memory and segmentation fault.
    esp_camera_fb_return(frame);
    return result;
  }
}
6)运行初始化例程。
void setup() {
   // Open serial port for printing debug messages.
   Serial.begin( 115200 );

   // Connect to WiFi
   connectWifi();

   // Initialize the camera
   if (initCamera()){
    Serial.println("Camera initialized");
    cameraAvailable = true;
   }
}
7) 连续循环并发送图像至 ThingSpeak。
void loop() {
// If the connection is lost, reconnect.
  if (WiFi.status() != WL_CONNECTED) {
    connectWifi();
  }
  snapshotToThingSpeak();
  delay(30);
}
写入图像
在监视页面视图中的图像显示小组件的同时运行代码。