parallelplot
Create parallel coordinates plot
Syntax
Description
parallelplot(
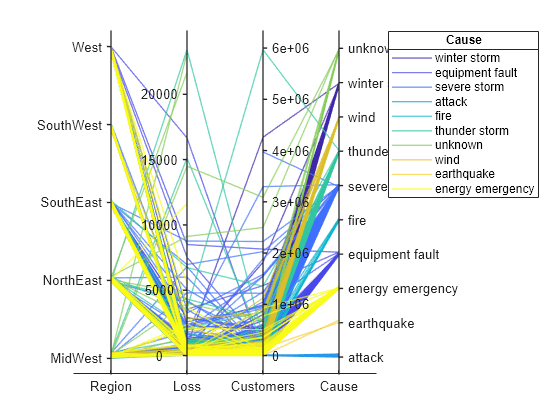
creates a parallel
coordinates plot from the table tbl
)tbl
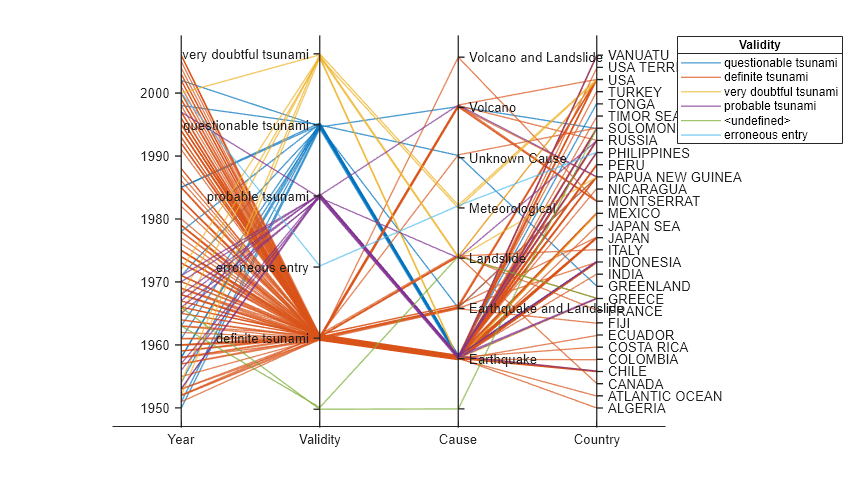
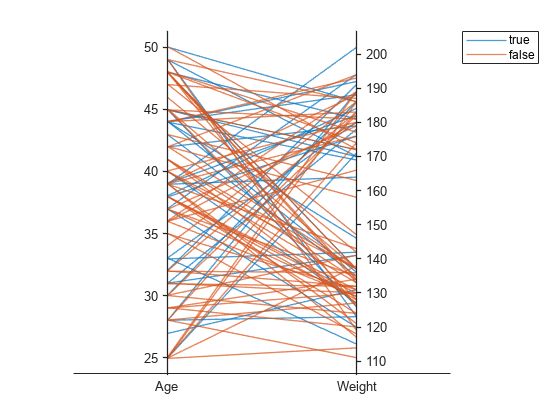
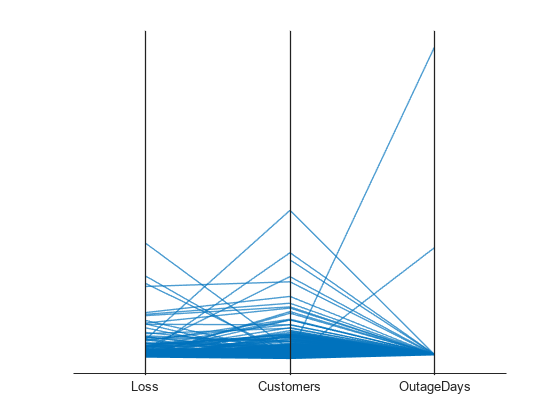
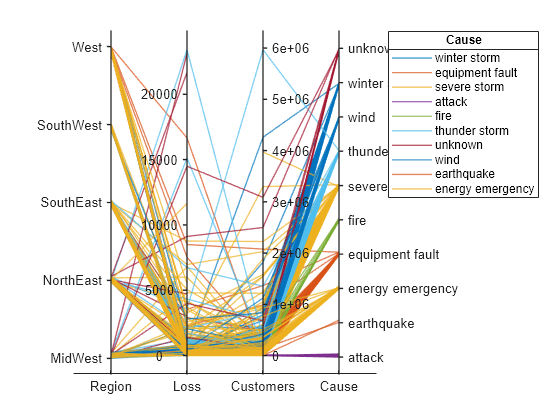
. Each line in the plot represents
a row in the table, and each coordinate variable in the plot corresponds to a column in
the table. The software plots all table columns by default.
parallelplot(___,
specifies additional options using one or more name-value pair arguments. For example, you
can specify the data normalization method for coordinates with numeric values. For a list
of properties, see ParallelCoordinatesPlot Properties.Name,Value
)
parallelplot(
creates
the parallel coordinates plot in the figure, panel, or tab specified by
parent
,___)parent
.
returns
the p
= parallelplot(___)ParallelCoordinatesPlot
object. Use p
to
modify the object after you create it. For a list of properties, see ParallelCoordinatesPlot Properties.
Examples
Input Arguments
Output Arguments
More About
Tips
To interactively explore the data in your
ParallelCoordinatesPlot
object, use these options (some are not available in the Live Editor):Zoom — Use the scroll wheel to zoom.
Pan — Click and drag the parallel coordinates plot to pan.
Data tips — Hover over the parallel coordinates plot to display a data tip. The software highlights the corresponding line in the plot. For an example, see Change Data Normalization in Plot.
Rearrange coordinates — Click and drag a coordinate tick label horizontally to move the corresponding coordinate ruler to a different position. For an example, see Explore Table Data Using Parallel Coordinates Plot.
If you create a parallel coordinates plot from a table, then you can customize its data tips. Data tips on parallel coordinates plots always display the value of the selected point, even if you have removed all of the rows.
To add or remove a row from the data tip, right-click anywhere on the plot and point to Modify Data Tips. Then, select or deselect a variable.
To add or remove multiple rows, right-click on the plot, point to Modify Data Tips, and select More. Then, add variables by clicking >> or remove them by clicking <<.
Version History
Introduced in R2019a