Set Up Custom Boards Using the Hardware Setup
R2026bYou can use the Hardware Setup to configure custom boards, including Zynq®
UltraScale+™ MPSoC boards, Kria® boards, ZYBO™ boards, and more. When you select the hardware board in Hardware Setup
add-on, these boards are not listed in the Hardware Board option.
To use hardware setup process for these custom boards, set the Hardware
Board to Custom Board.
Using the hardware setup process for custom boards, you:
Download and install the required third-party tools for your board.
Establish an Ethernet connection to the hardware.
Load the MathWorks® firmware image onto an SD card.
Requirements
To use the Hardware Setup for custom boards, you must:
Install the SoC Blockset™ Support Package for AMD FPGA and SoC Devices.
Build a compatible Linux® image of your hardware board. Depending on the hardware board, you can also build a Linux image for the hardware boards by using MathWorks Build System or MathWorks PetaLinux System.
To build a Linux image for the custom boards such as ZYBO boards by using the MathWorks build system, see Build Custom Linux Image for IP Core (HDL Coder).
To build a Linux image for the custom boards such AMD® RFSoC devices or Kria boards by using the MathWorks PetaLinux system, see Build PetaLinux Image for AMD ZCU216 RFSoC Development Kit or Build Linux Image for AMD Kria KR260 Robotics Starter Kit Using PetaLinux Tool.
Supported Hardware Boards
You can use these hardware boards and AMD device families as custom boards.
The supported hardware boards include:
ZYBO Boards
Kria Boards
Zynq UltraScale+ MPSoC ZCU104 Board
Additionally, hardware boards in these AMD device families are supported:
Zynq
Zynq UltraScale™
Versal®
For more information on the supported AMD hardware boards, see Supported Third-Party Tools and Hardware.
Configure Custom Hardware Board
To set up your custom hardware board by using Hardware Setup add-on, follow these steps:
Launch the HDL Coder Hardware Setup add-on by using
hdlHardwareSetup(HDL Coder) function. You can also launch the add-on from the HDL Coder tab on the toolstrip or from the Add-ons panel in MATLAB®. For more information, see Set Up AMD FPGA and SoC Devices.hdlHardwareSetup
In the Select a Hardware Board step, set the FPGA Vendor to
AMD
                            (Xilinx)
and Workflow toAll,Deep LearningorIP Core Generation. Set the Hardware Board toCustom Board. Click Next.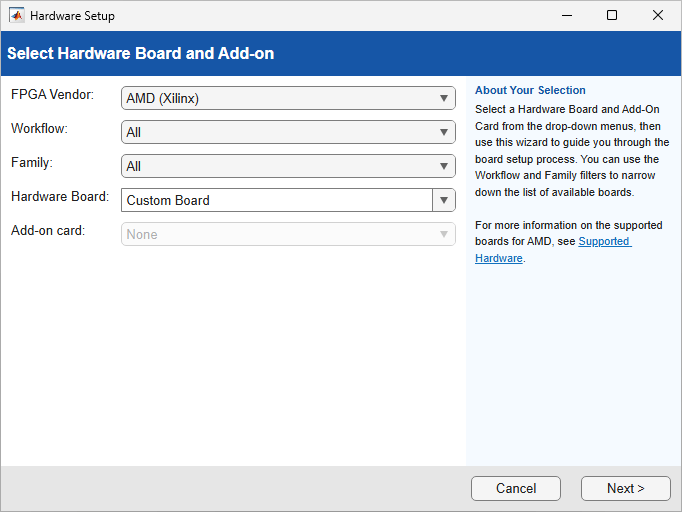
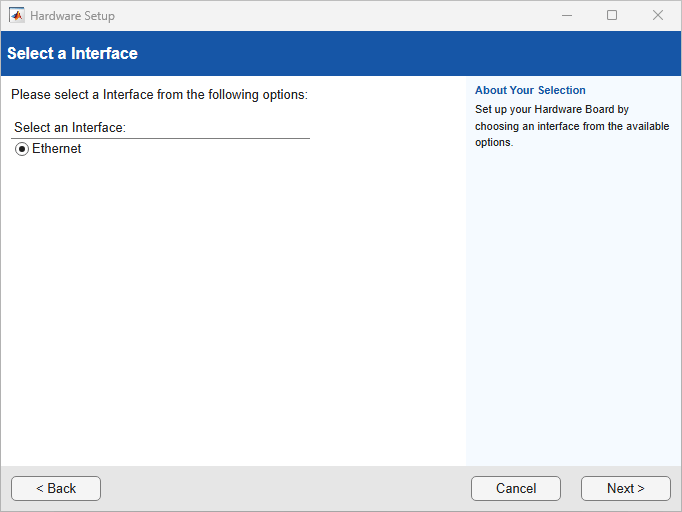
In the Select an Interface step, select the ethernet interface. Click Next.
In the Select Device Family step, set Device Family to the device family of your hardware board. For the list of supported device families, see Supported Hardware Boards. Set Choose Linux Image to
MathWorks-Compatible Linux Image. Click Next.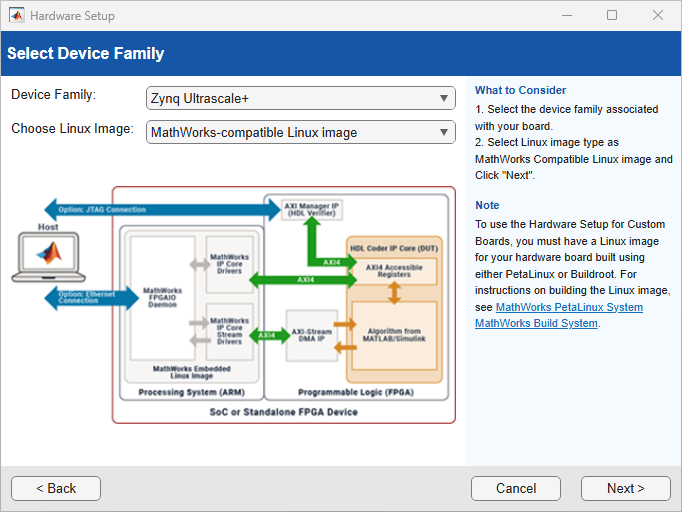
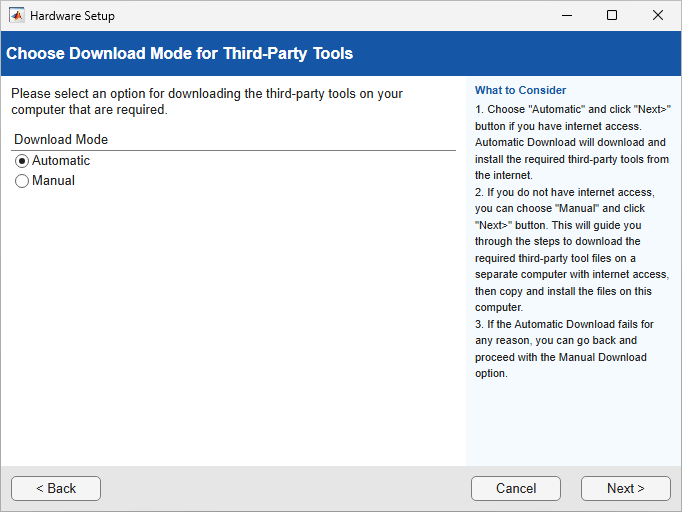
In the Choose Download Mode for Third-party Tools step, download the required third-party tools for the custom board. Select Automatic or Manual to automatically or manually download the files, respectively. For more information, see Download Required Third-Party Tools.

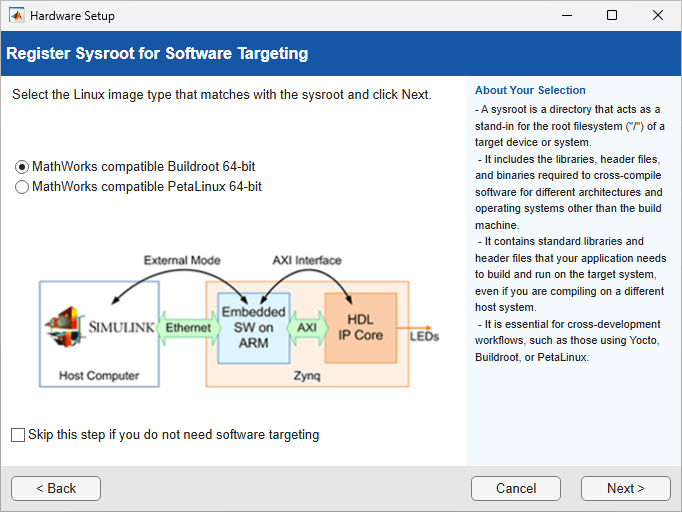
In the Register Sysroot for Software Targeting step, you register the Linux root file system (sysroot) for the target AMD board. The sysroot provides the libraries, header files, and binaries required to cross‑compile, deploy, and run generated code on the target hardware. You must register a sysroot when using cross‑development workflows, such as those that use Yocto, Buildroot, or PetaLinux.
This step is required when you installed third-party tools for software targeting in the Download and Install Third-Party Tools step.
Select the Linux image type that matches the root file system installed on the target device:
MathWorks compatible Buildroot 64-bit — Select this option when the target device is running a 64‑bit Buildroot image.
MathWorks compatible PetaLinux 64‑bit — Select this option when the target device is running a 64‑bit PetaLinux image.
If you do not want to register a sysroot, select the Skip this step if you do not want to register sysroot check box and click Next. You can register the sysroot later by using the Hardware Setup tool.
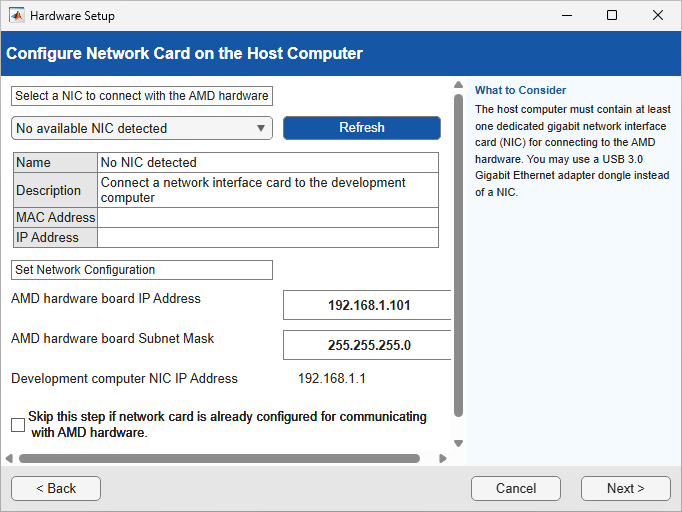
In the Configure Network Card on the Host Computer step, select the network interface card (NIC) that you want to connect with the hardware. You can also specify an IP address for your board in the Set Network Configuration section.
In the Select a Drive step, select the location of the drive that contains the SD card. Click Next.
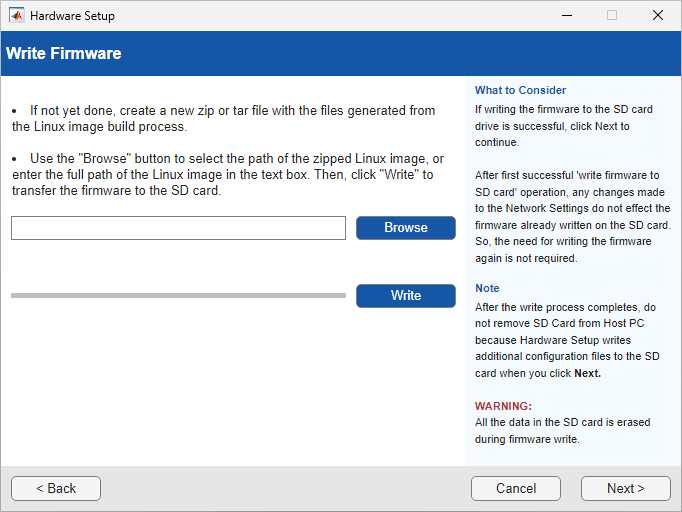
In the Write Firmware step, specify the path of the Linux image of the custom board.
To write the firmware to the SD card, click Write. After the process completes, click Next.
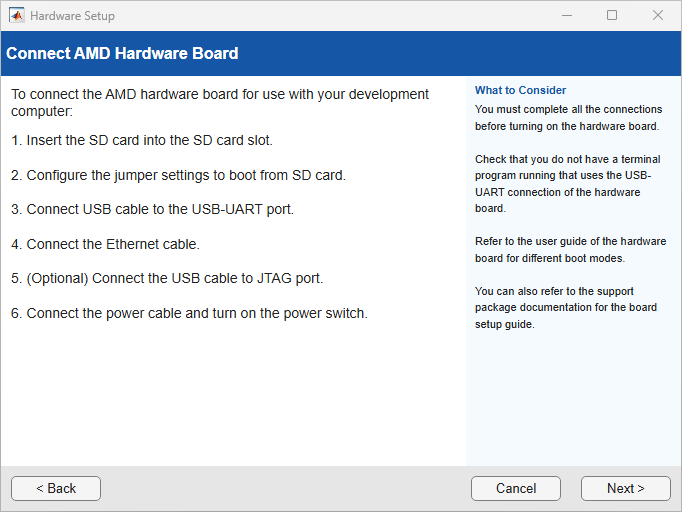
In the Connect AMD Hardware Board step, follow the instructions to connect the SD card to the hardware board and setup the hardware connection to boot hardware board from the SD card.
You can verify your hardware connection in the Verify Configuration of Your AMD Hardware Board step. Click Verify.
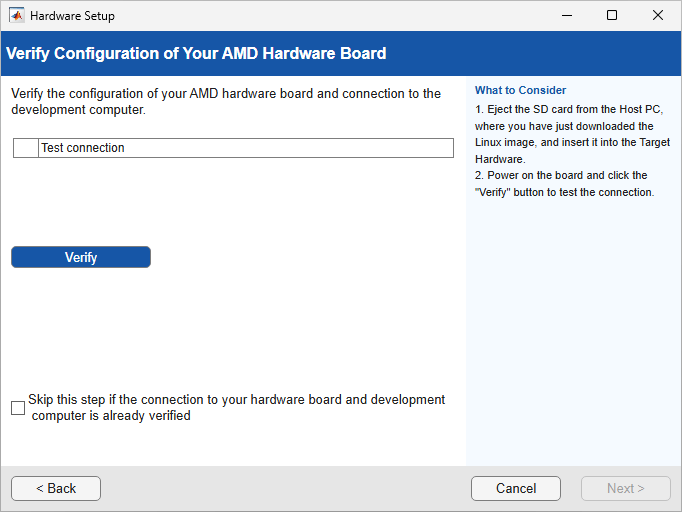
When the Hardware Setup completes, you can open the examples to get familiar with the product and its features. Click Open Example to launch example in MATLAB which shows how to deploy a bitstream into the hardware.
See Also
hdlHardwareSetup (HDL Coder)
Topics
- Build Custom Linux Image for IP Core (HDL Coder)
- Build PetaLinux Image for AMD ZCU216 RFSoC Development Kit
- Build Linux Image for AMD Kria KR260 Robotics Starter Kit Using PetaLinux Tool
- Set Up AMD FPGA and SoC Devices

